Once your course is created, Chariow lets you access a full control panel to manage your lessons, secure your content, and optimize your sales. This guide details the options specific to the "Courses" type that become available after the initial publication.
To edit or customize an existing course:
Go to the Products tab in the side menu.
Click on the three action dots (⋮) to the right of your course and select Edit.
This central tab brings together the identity and protection settings for your course.
Name and Category (1 & 2) : You can edit your course title and topic at any time.
Automatic discount (3) : Offer an automatic discount to customers after the 3rd abandoned cart reminder.
Custom URL and redirect (4 & 5) : Customize your course link and set a specific page to redirect your customers to after purchase.
Post‑purchase instructions (6) : Write a welcome guide that will appear as soon as the student joins the course.
Purchase button text (7) : Customize the call to action (e.g.: "Join the course").
Security (8 & 9) : Protect access with a password or enable automatic watermarks on your documents to discourage unauthorized sharing.
Limits and Visibility (10, 11 & 12) : Set a registration limit, hide the course from your public storefront, or hide the number of enrolled students.
Shipping (13) : Enable collection of shipping addresses if you want to collect your customers’ postal details.
This is where you manage your students' learning experience.
Chapter organization : You can add new chapters, delete them, or change their order.
Adding lessons :
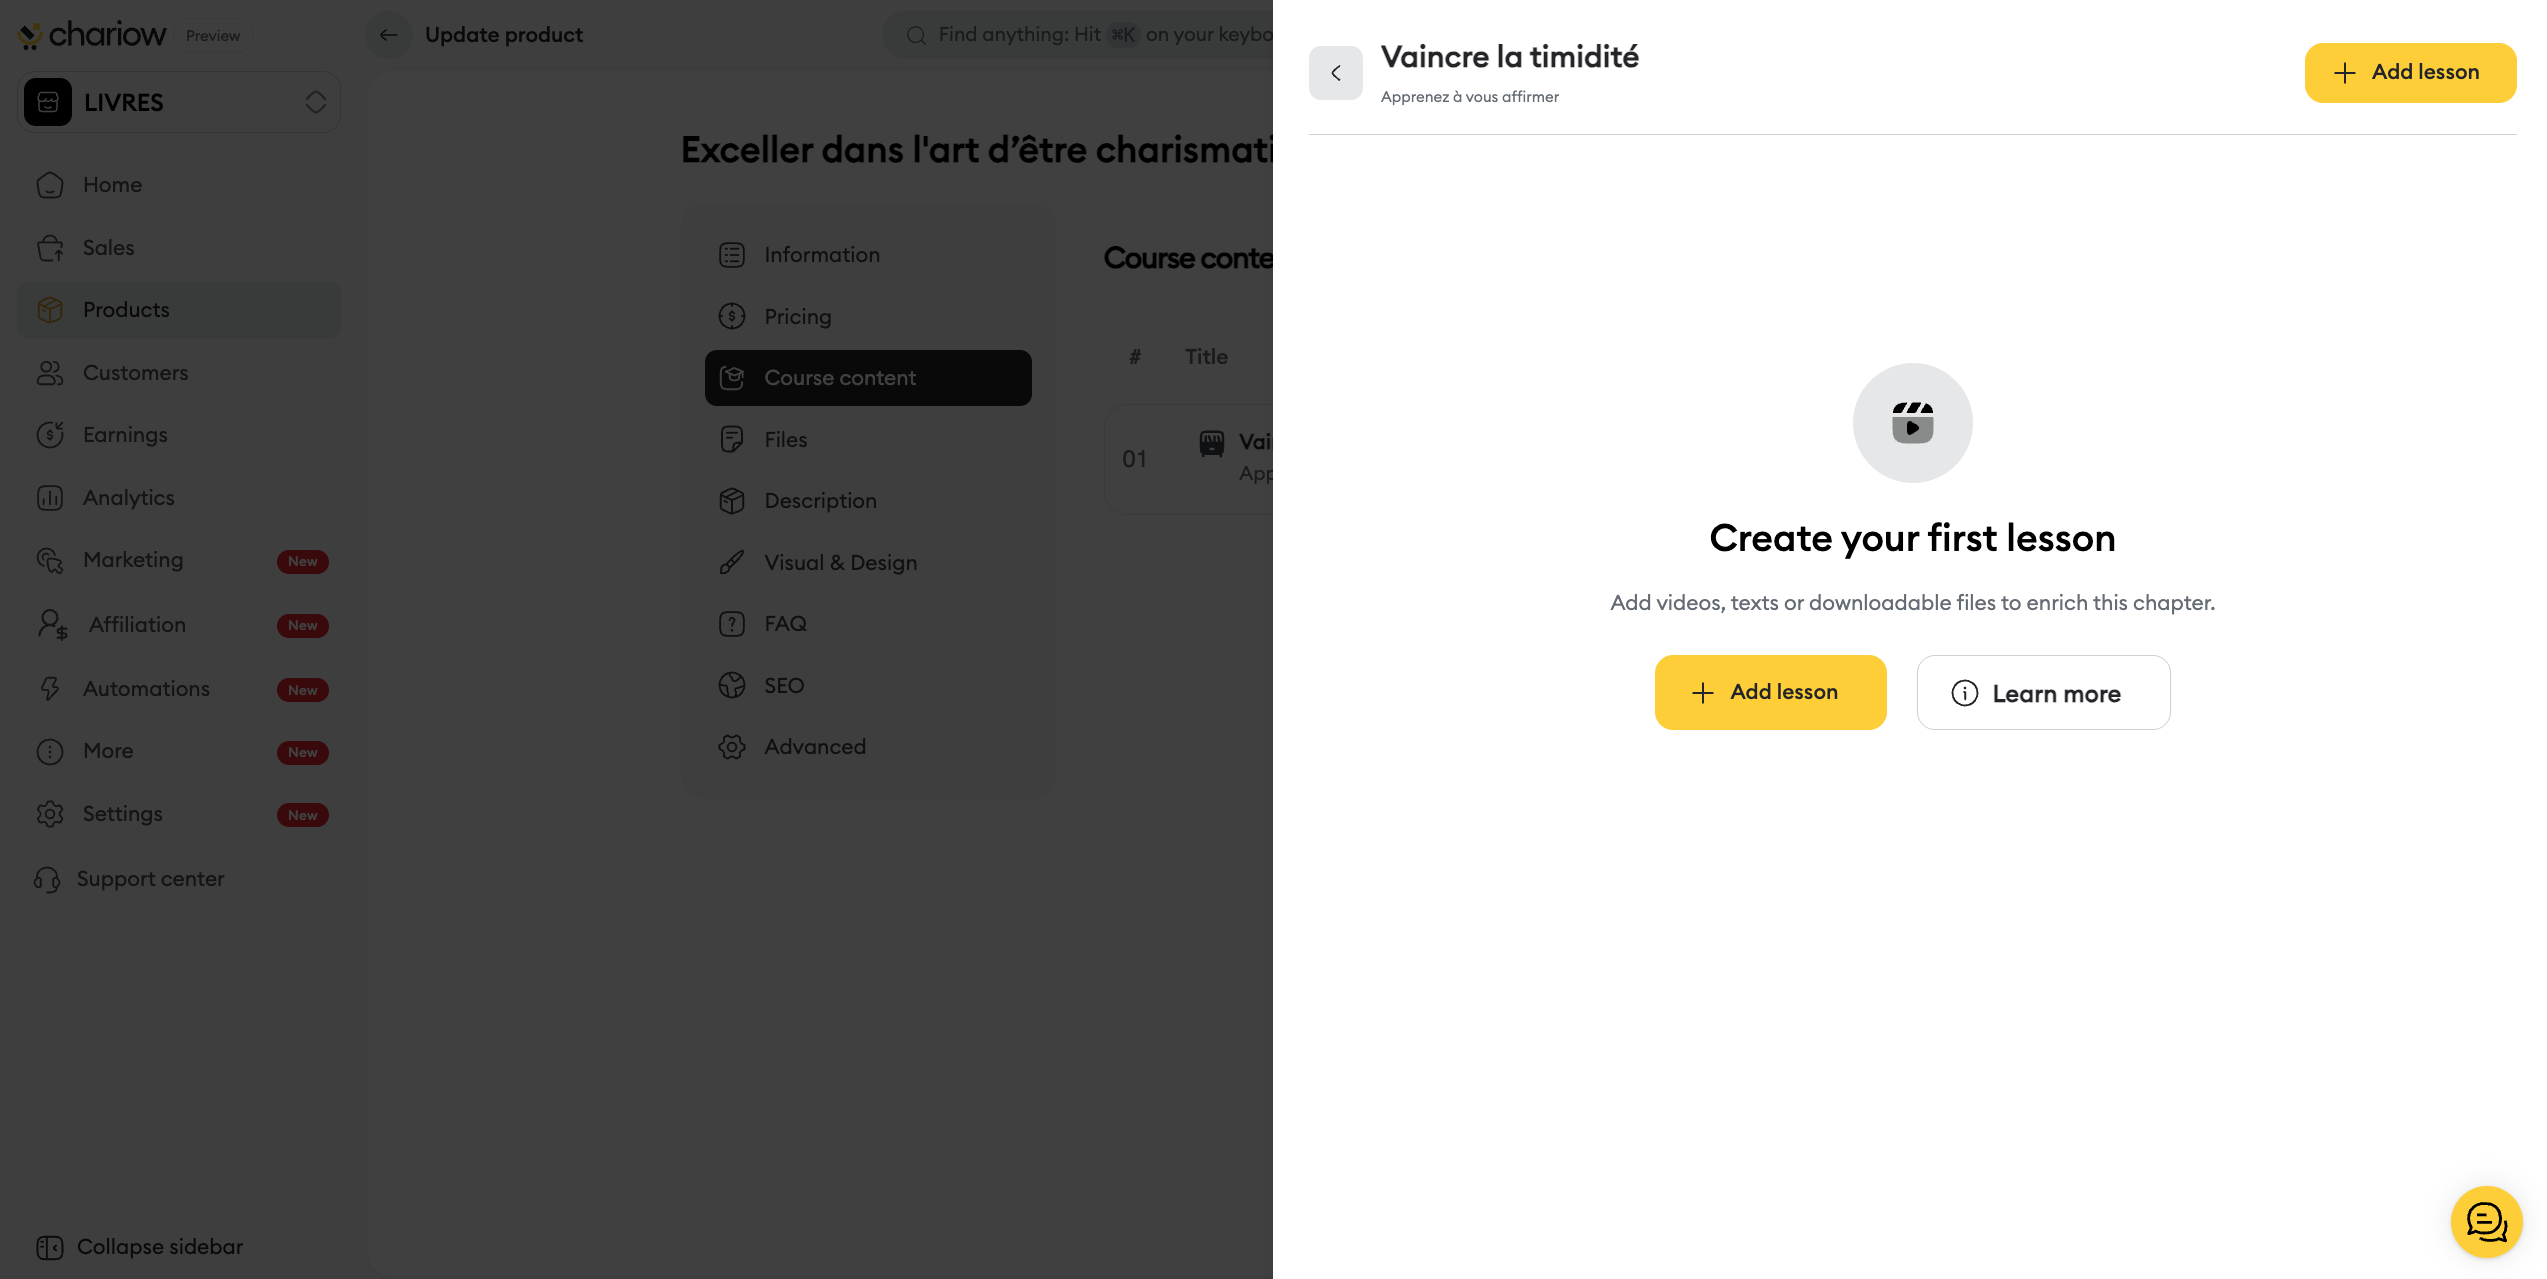
Click on a chapter to open its menu and add multimedia lessons.
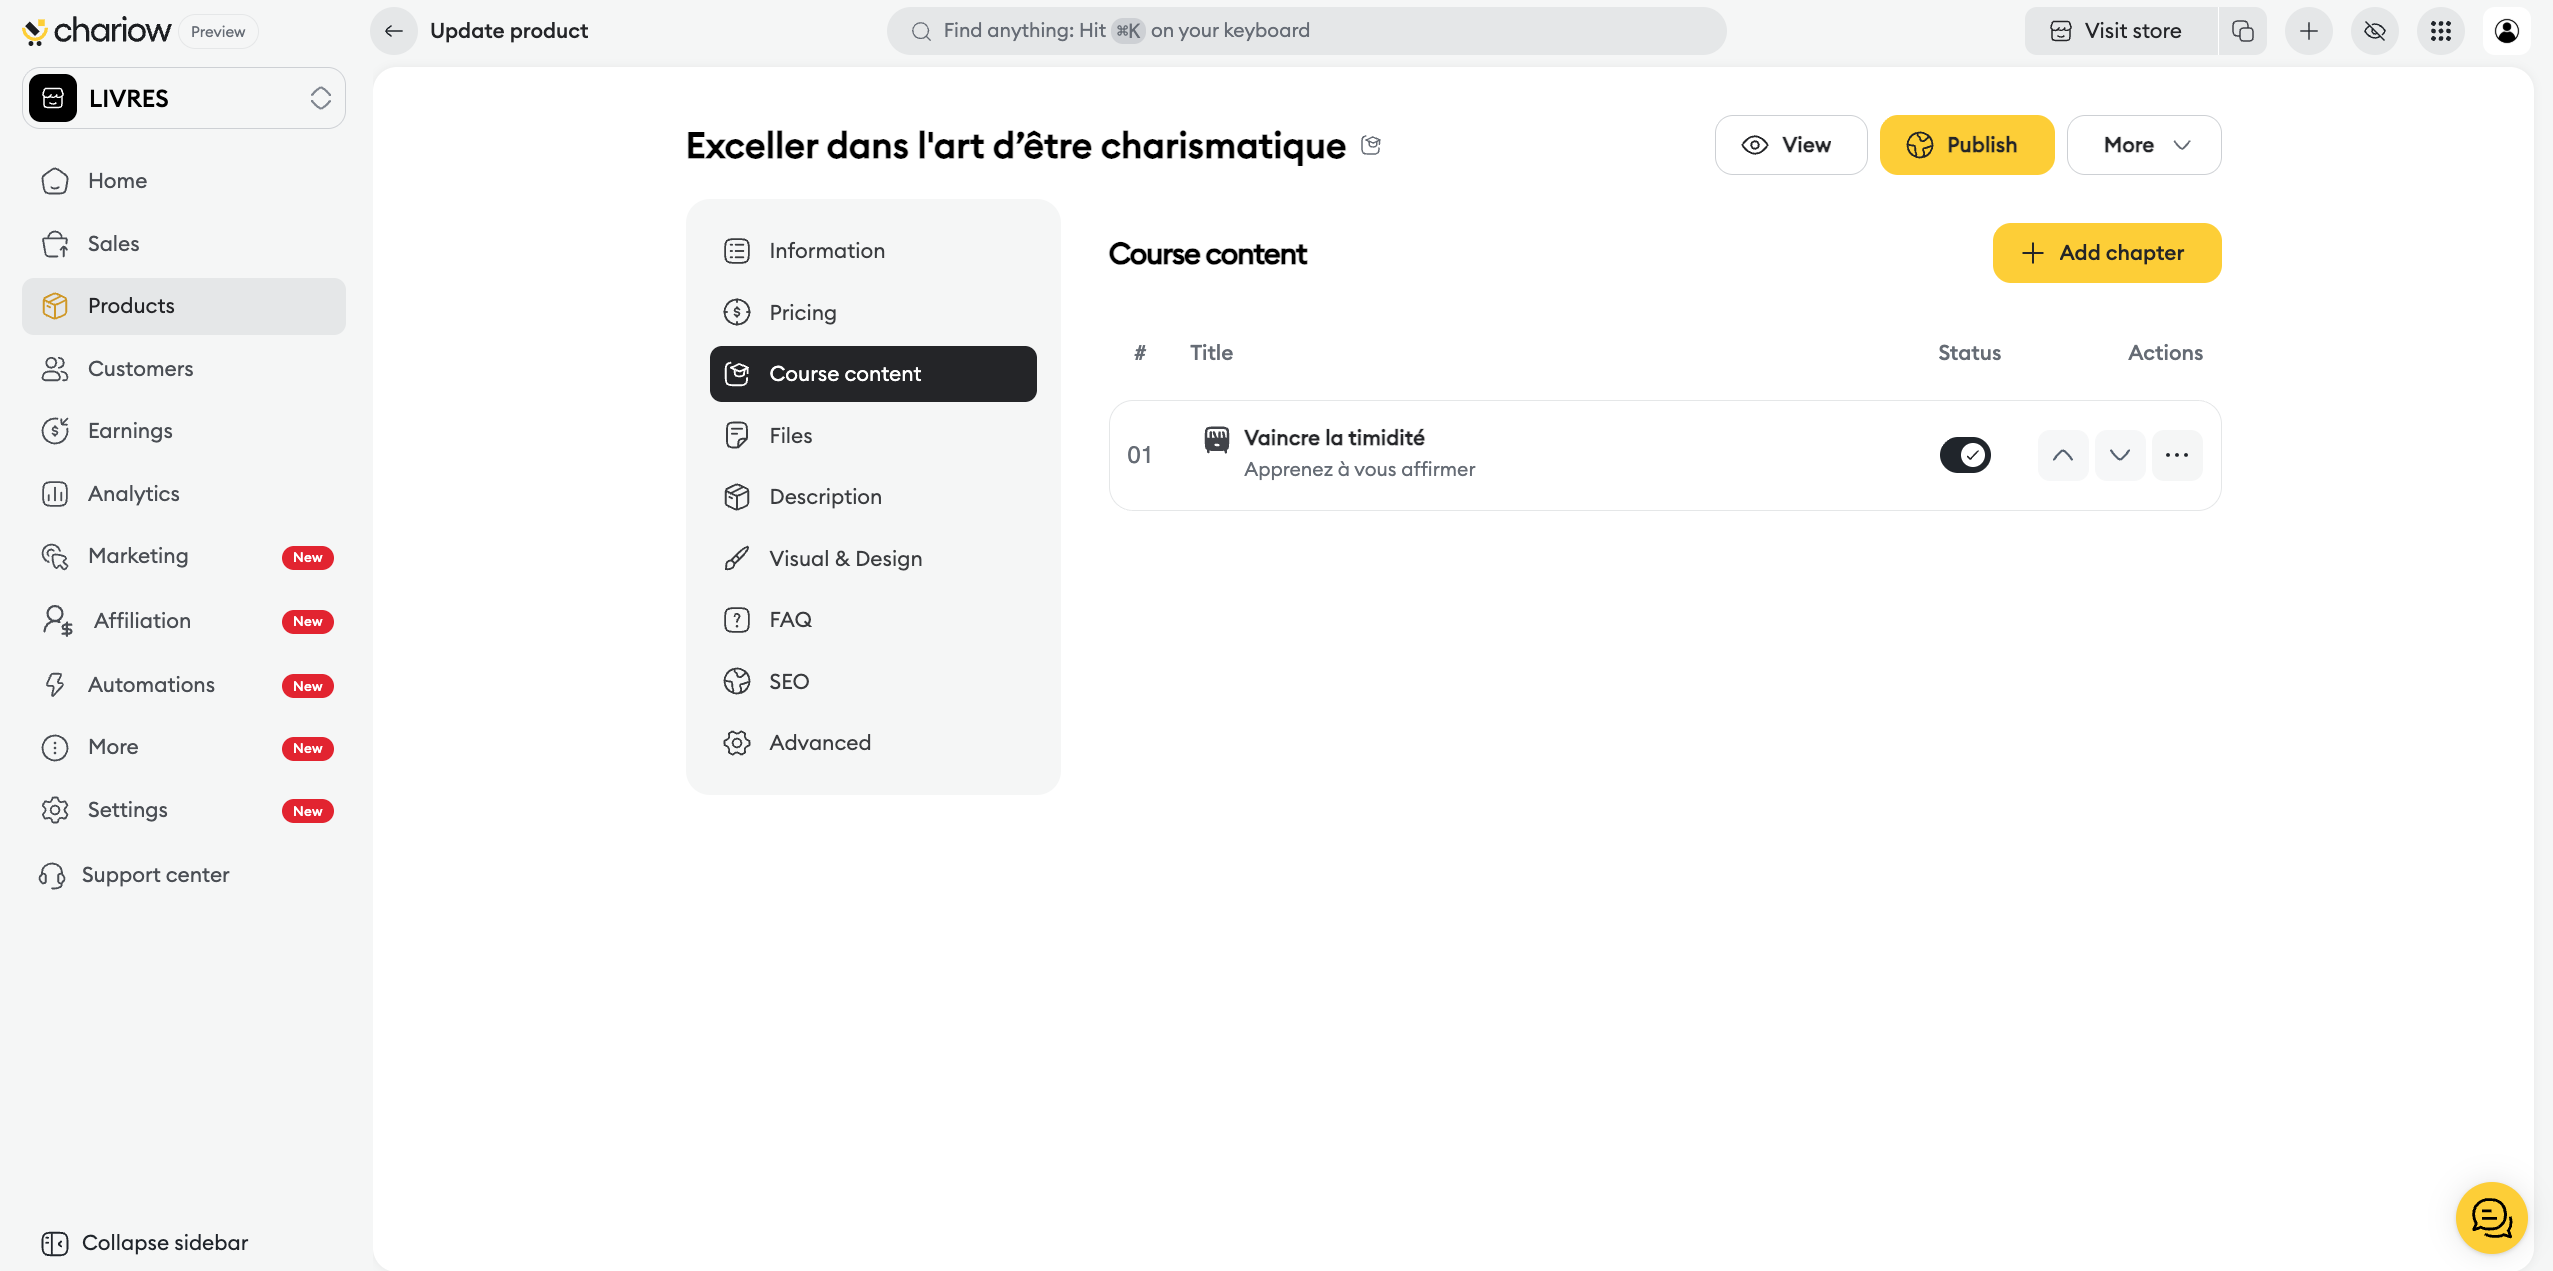
Click the yellow button Add a lesson.
Fill in the required fields in the window that opens:
Title: Give your lesson a clear name.
Description: Summarize the content for your students (max 160 characters).
Content type: Select the desired format (Video, Audio or Text).
Chariow now offers three integration methods for your media:
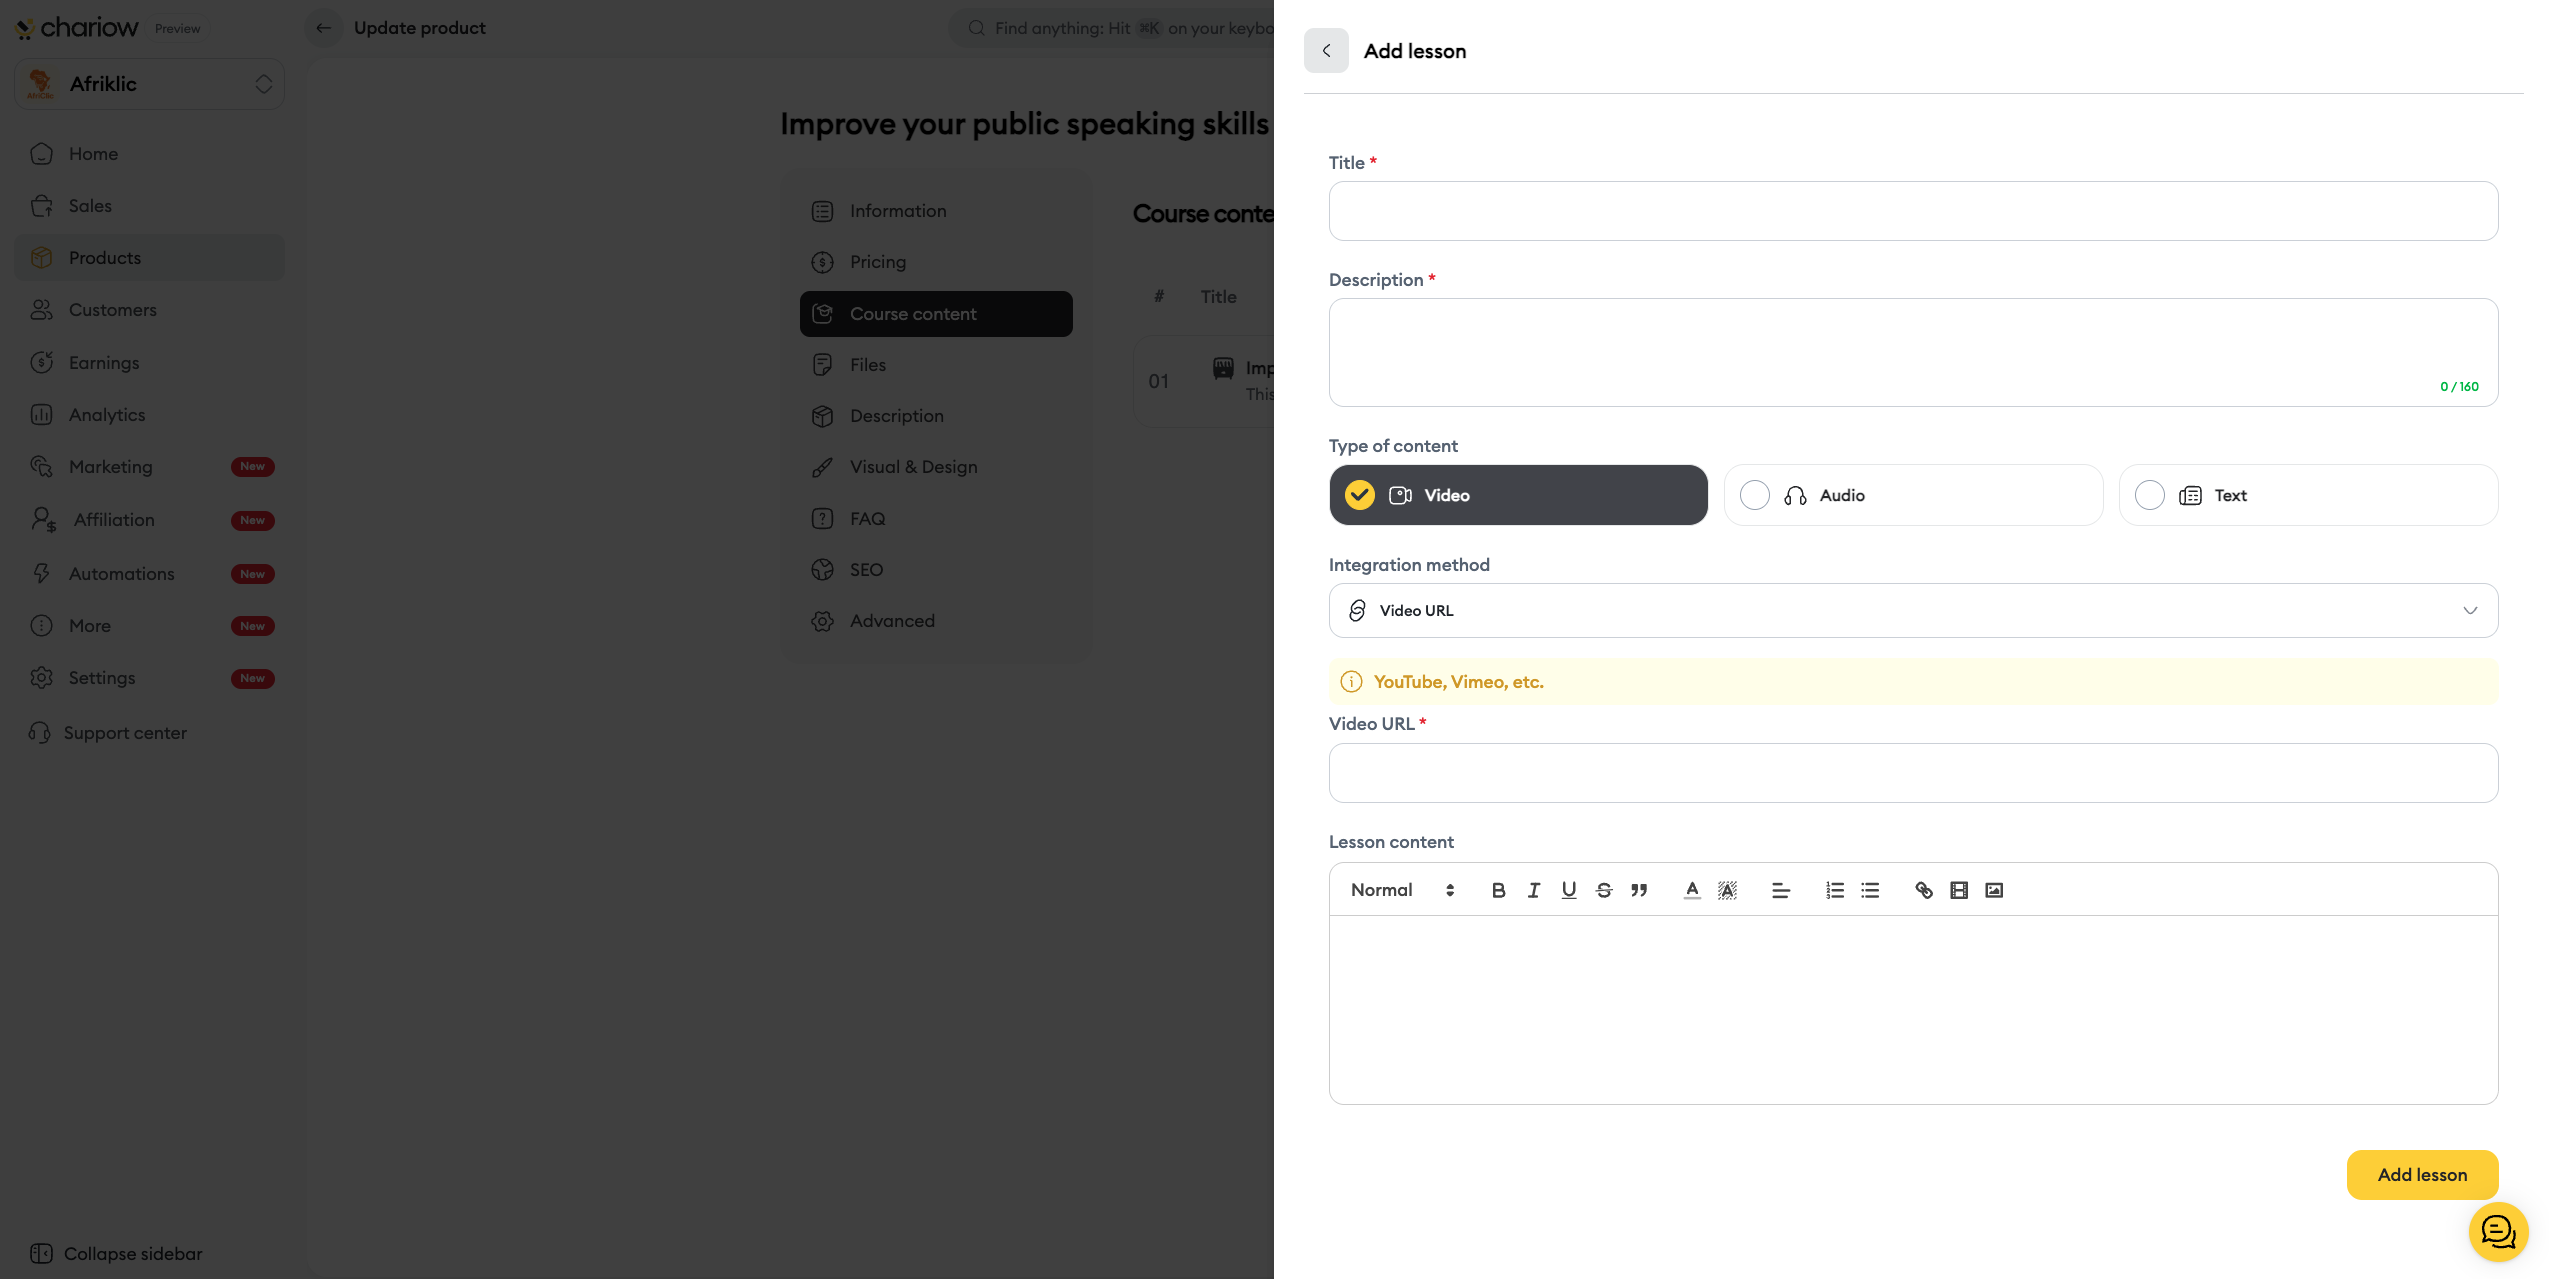
Upload (New): Directly upload your video or audio file from your device by clicking on Select media.
Video URL: Simply paste the link to your video hosted on YouTube or Vimeo.
Embed code: Use this option to insert an Iframe embed code from another host.
Upload : Click on Select media to upload your audio file directly from your device.
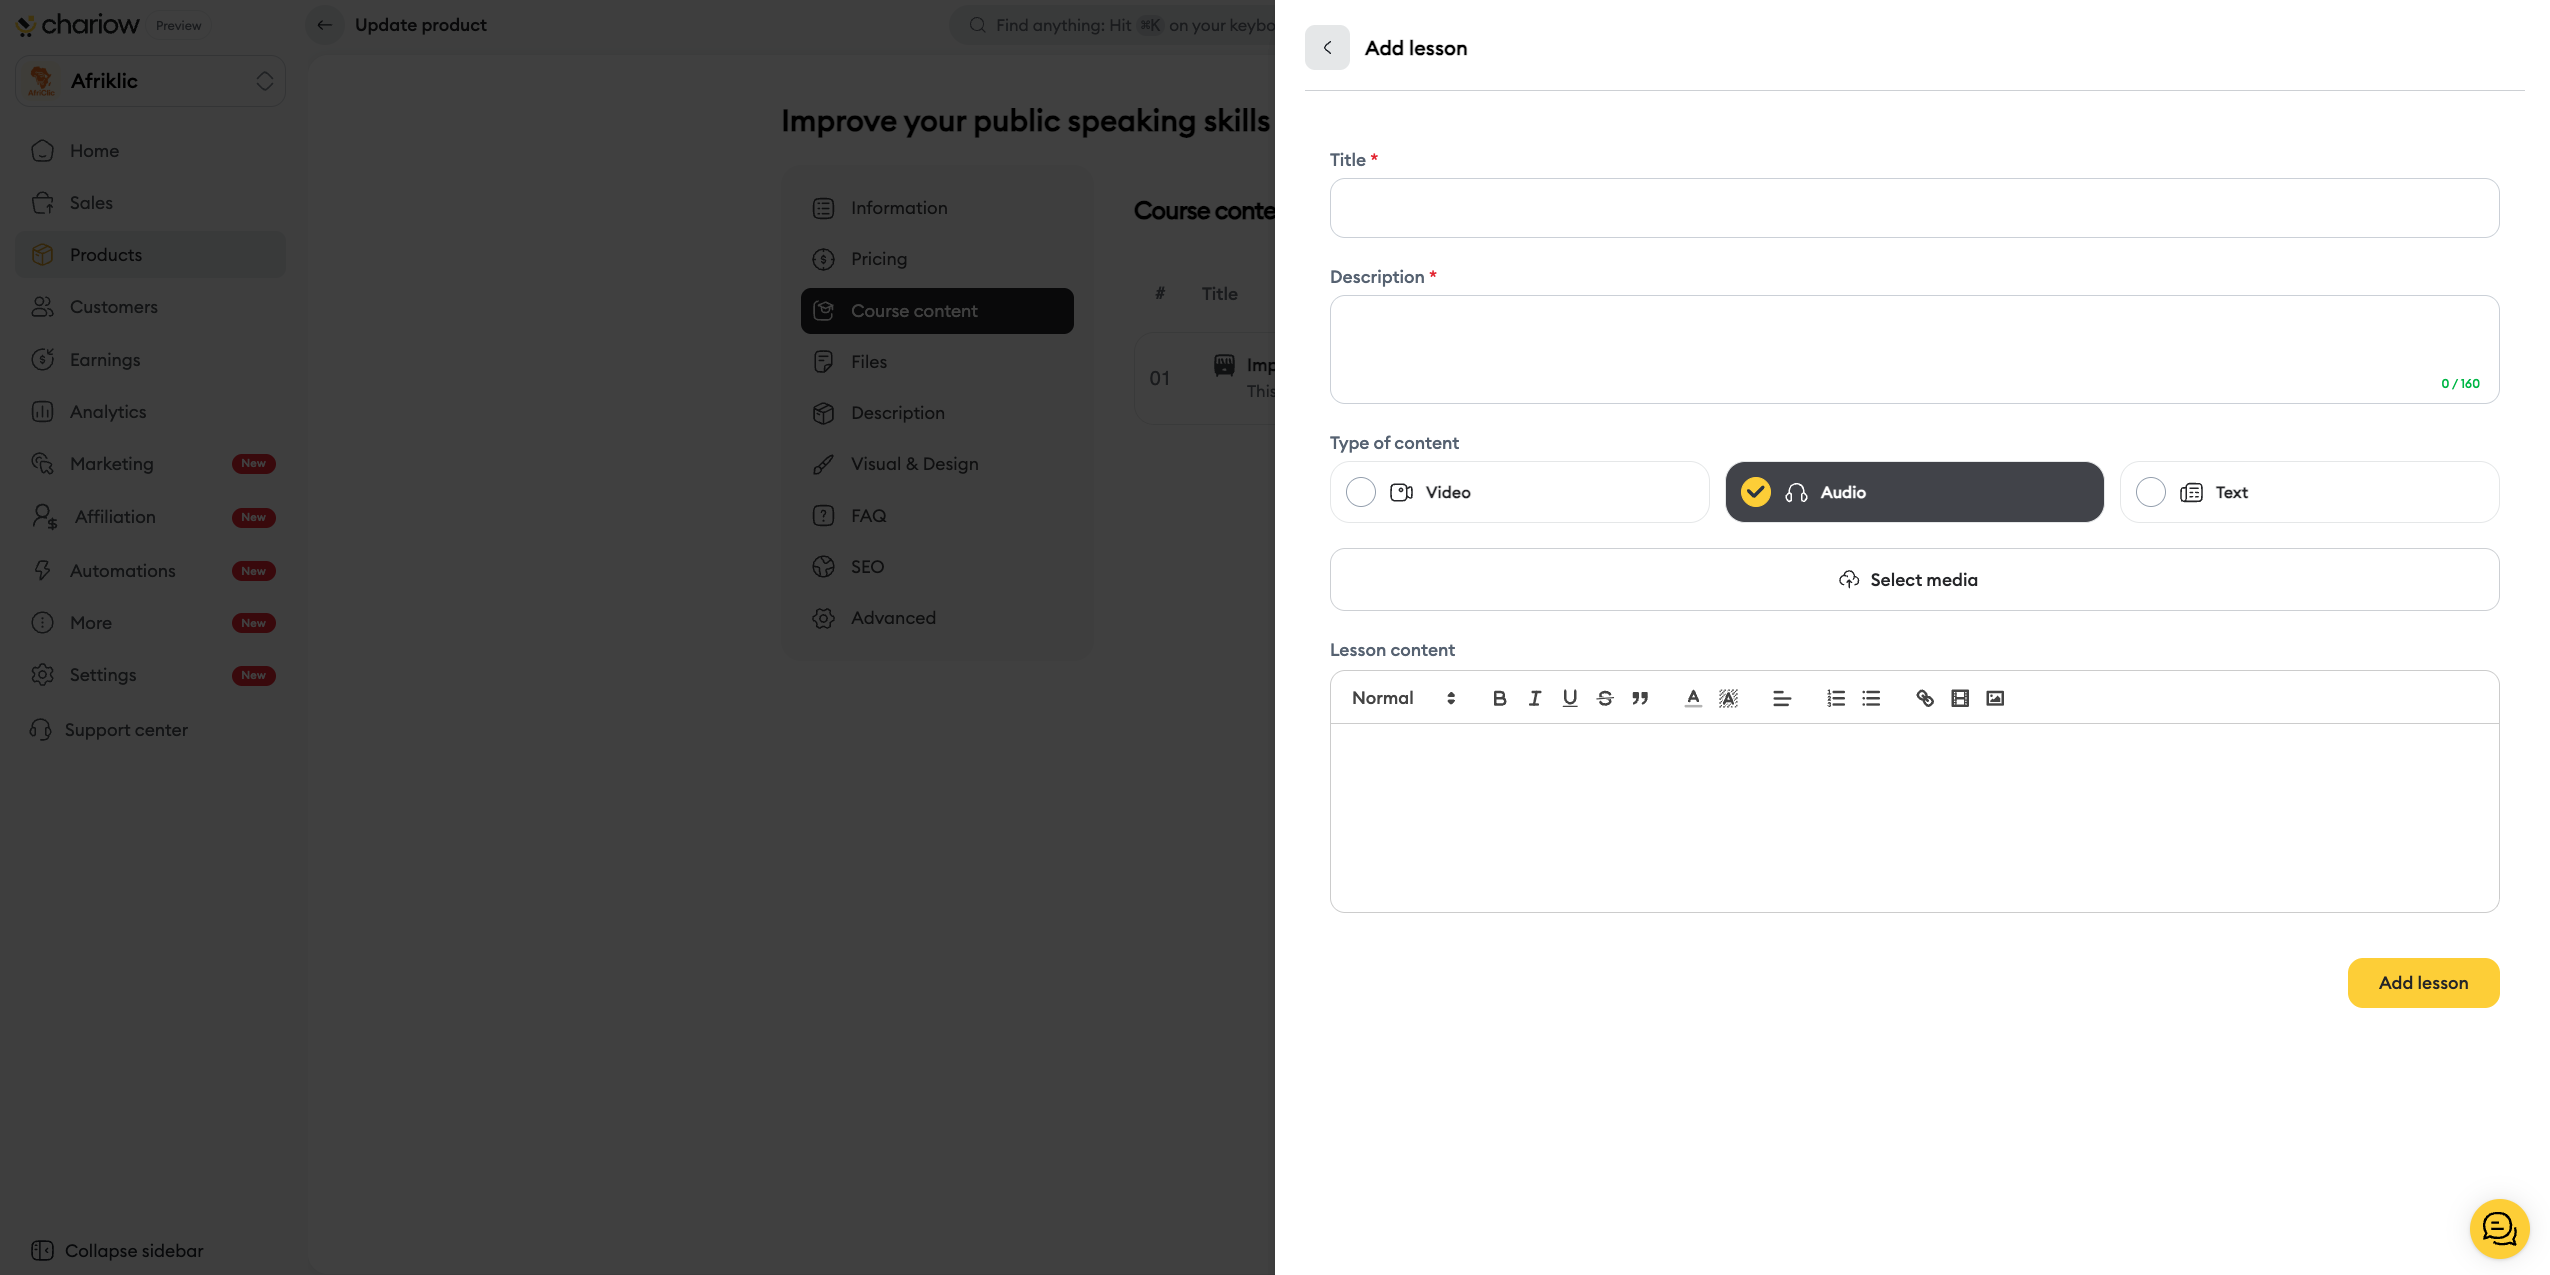
Write your content directly in the rich text editor.
Use the formatting tools (Bold, Lists, Links) to structure your lesson.
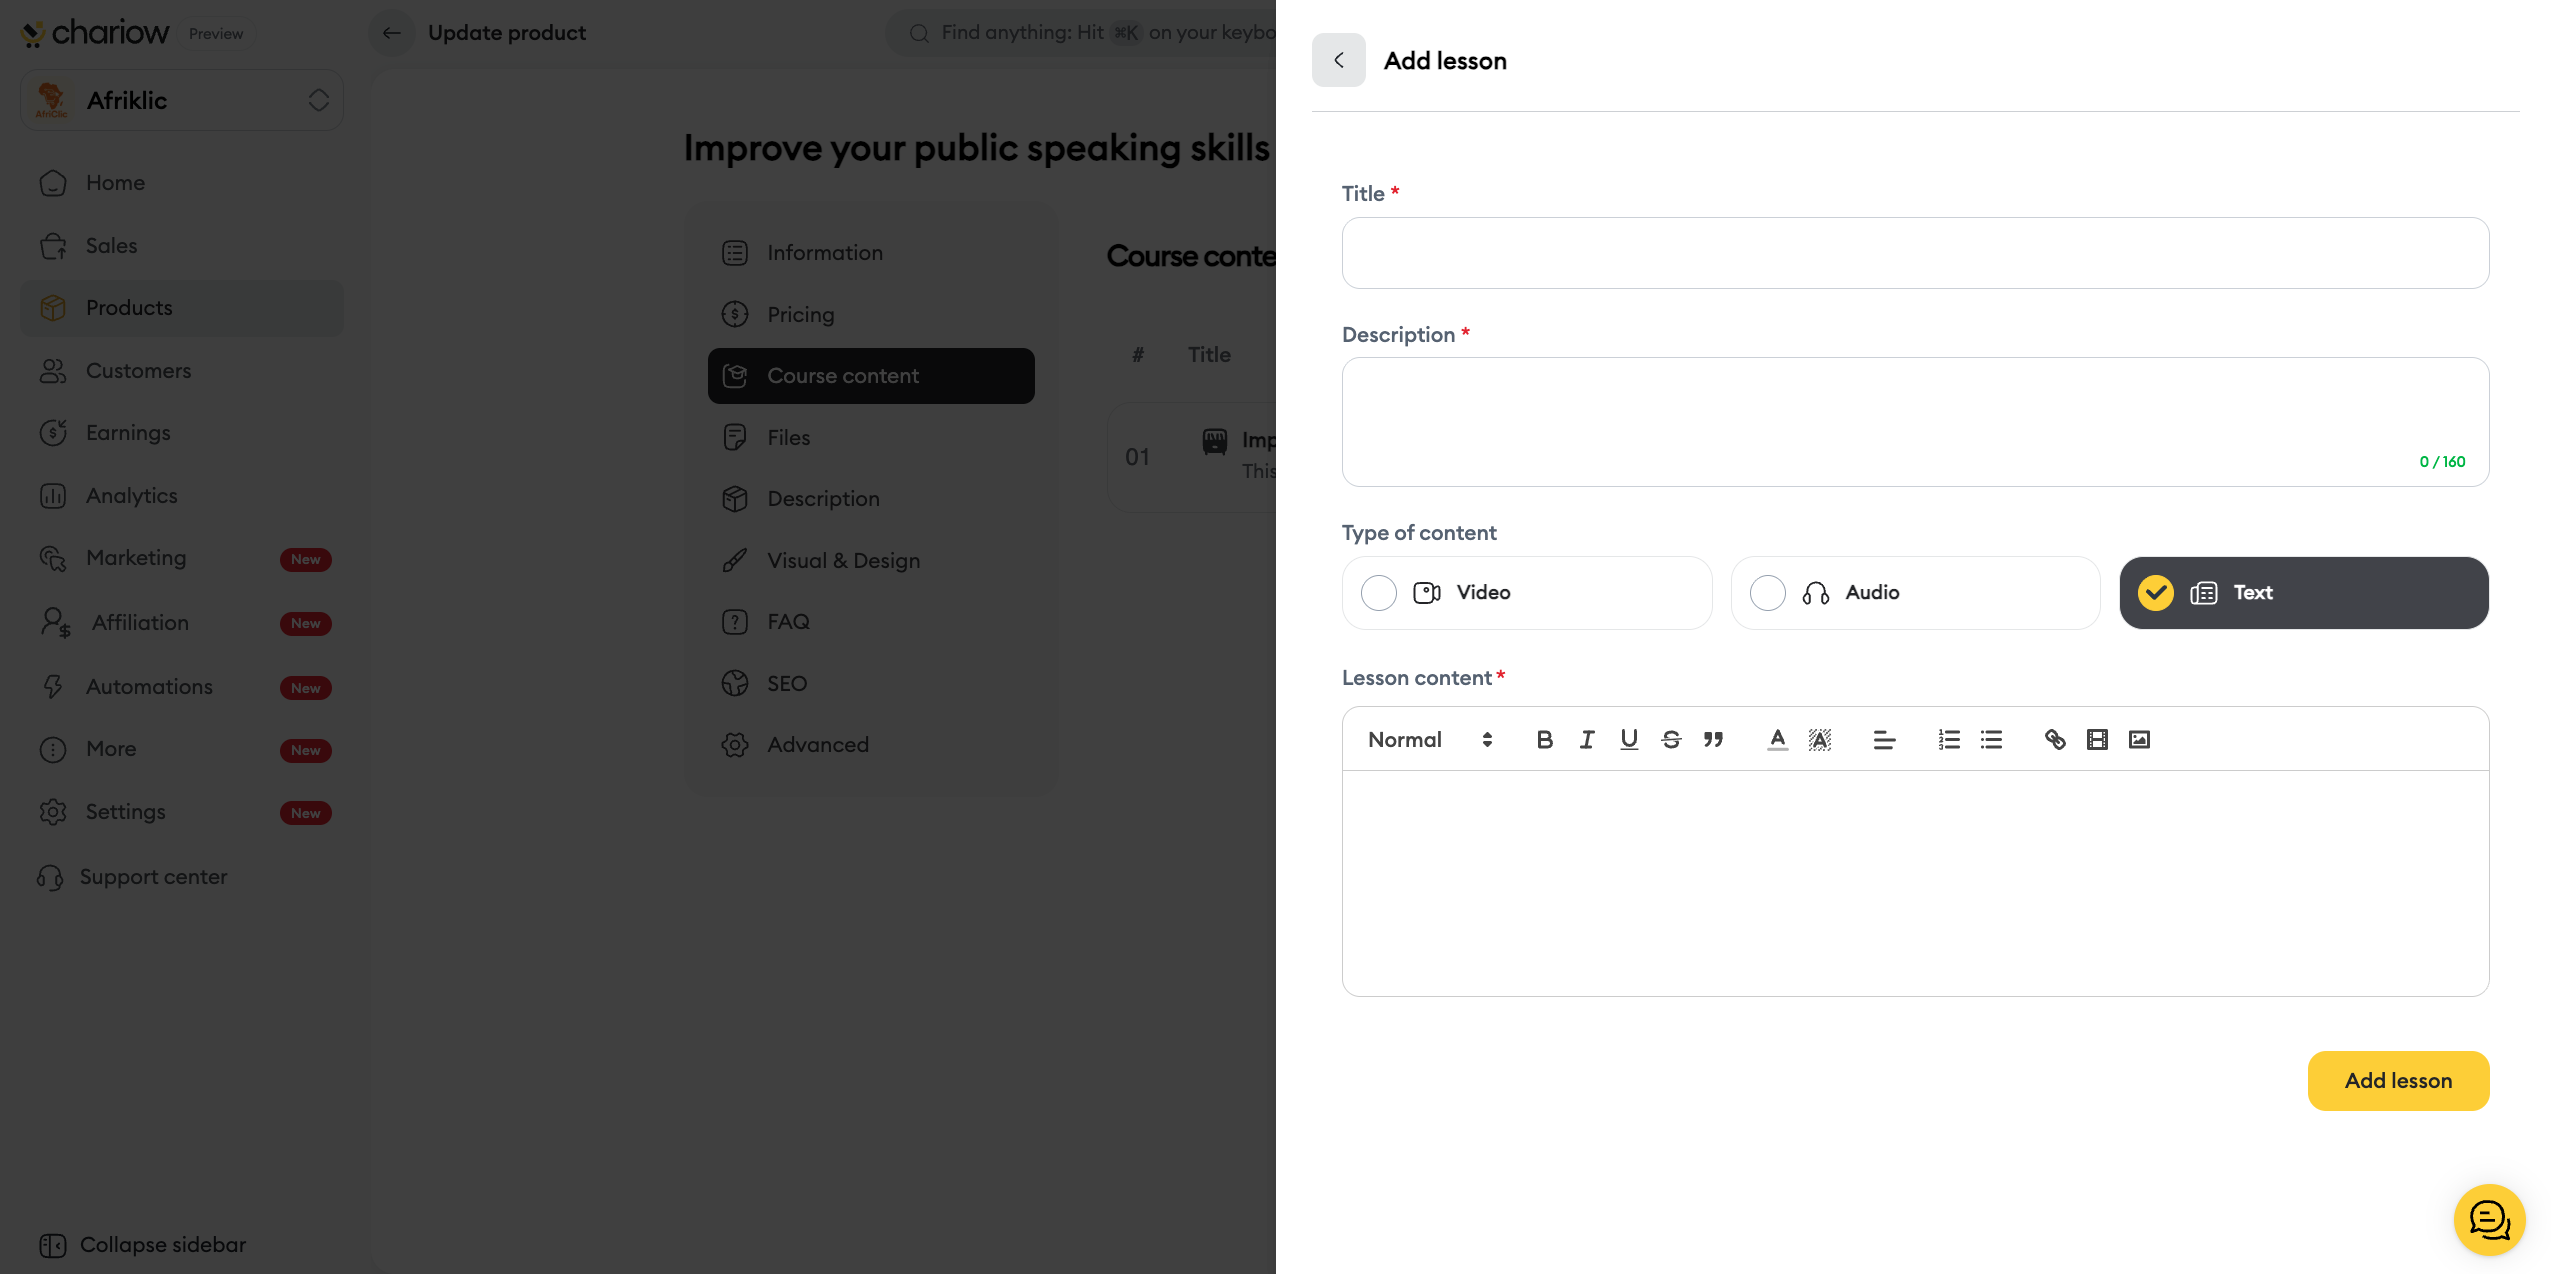
Click the Add a lesson button to confirm.
To go further in optimizing your product page, you have access to specific add-on modules:
You can offer multiple pricing options for the same product (e.g.: Standard License vs Commercial License) in the Pricing tab.
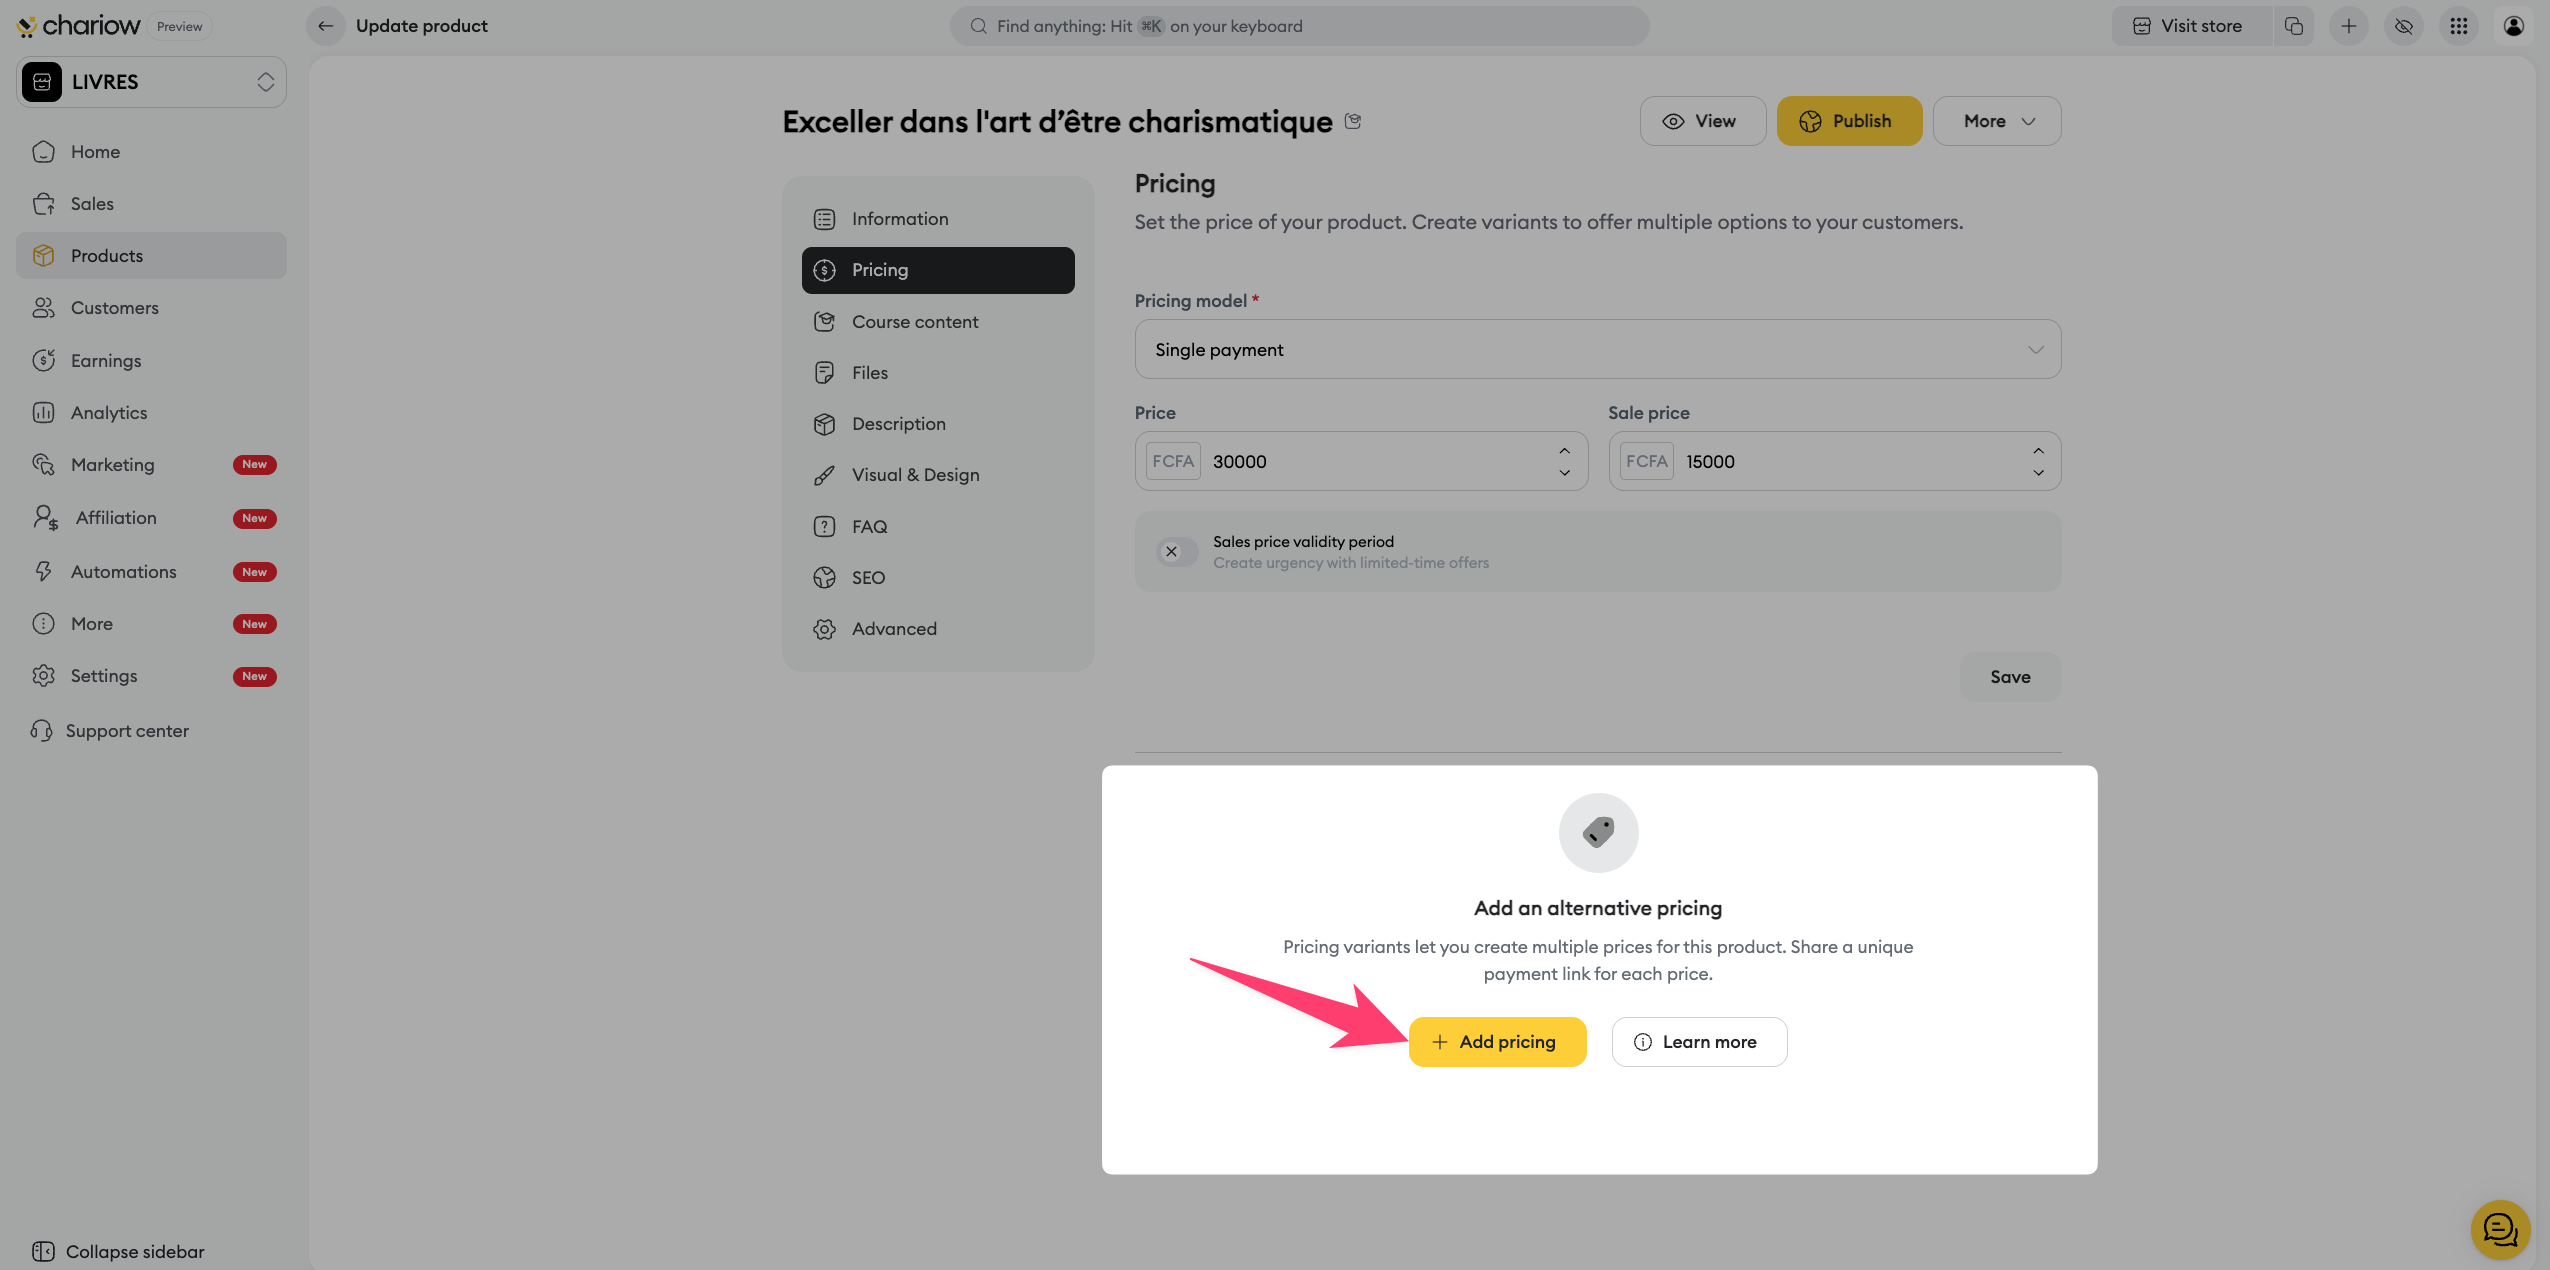
➜ Consult the guide: Create and manage price variants
Anticipate your customers’ questions by adding an FAQ section directly on your sales page. You can create your own questions or import them from other products to save time.
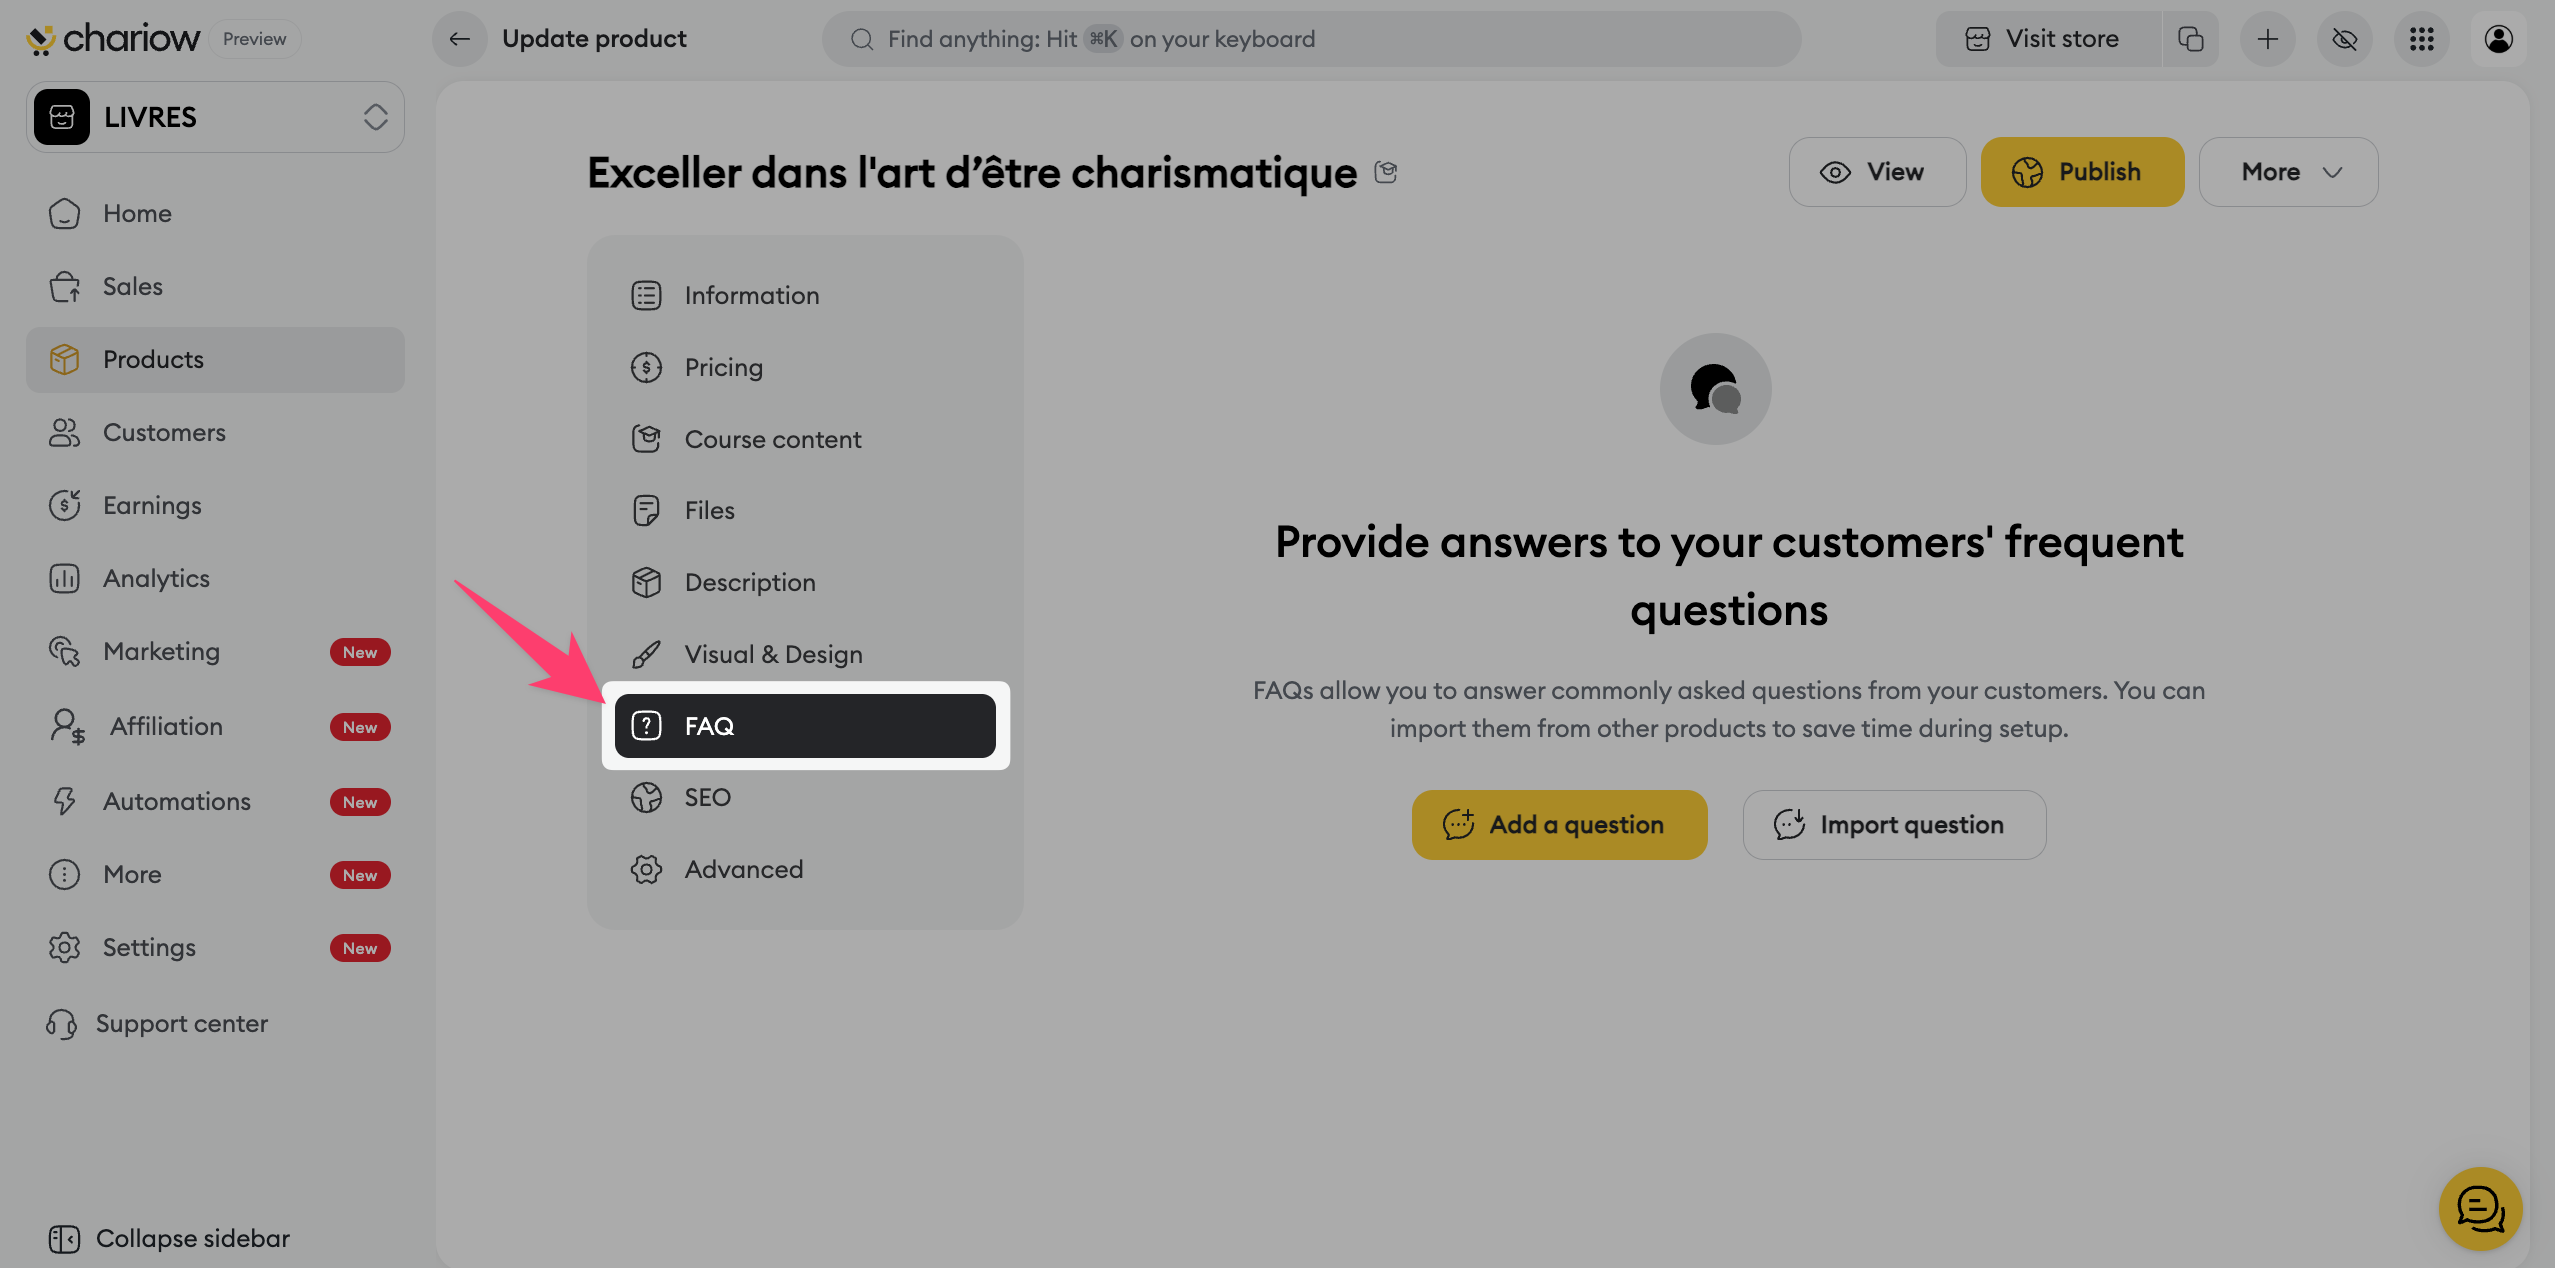
➜ Check out the guide: Set up your product FAQ
Optimize the title, meta description, and sharing thumbnail (Open Graph) so your product shows up in an attractive way on search engines and social networks.
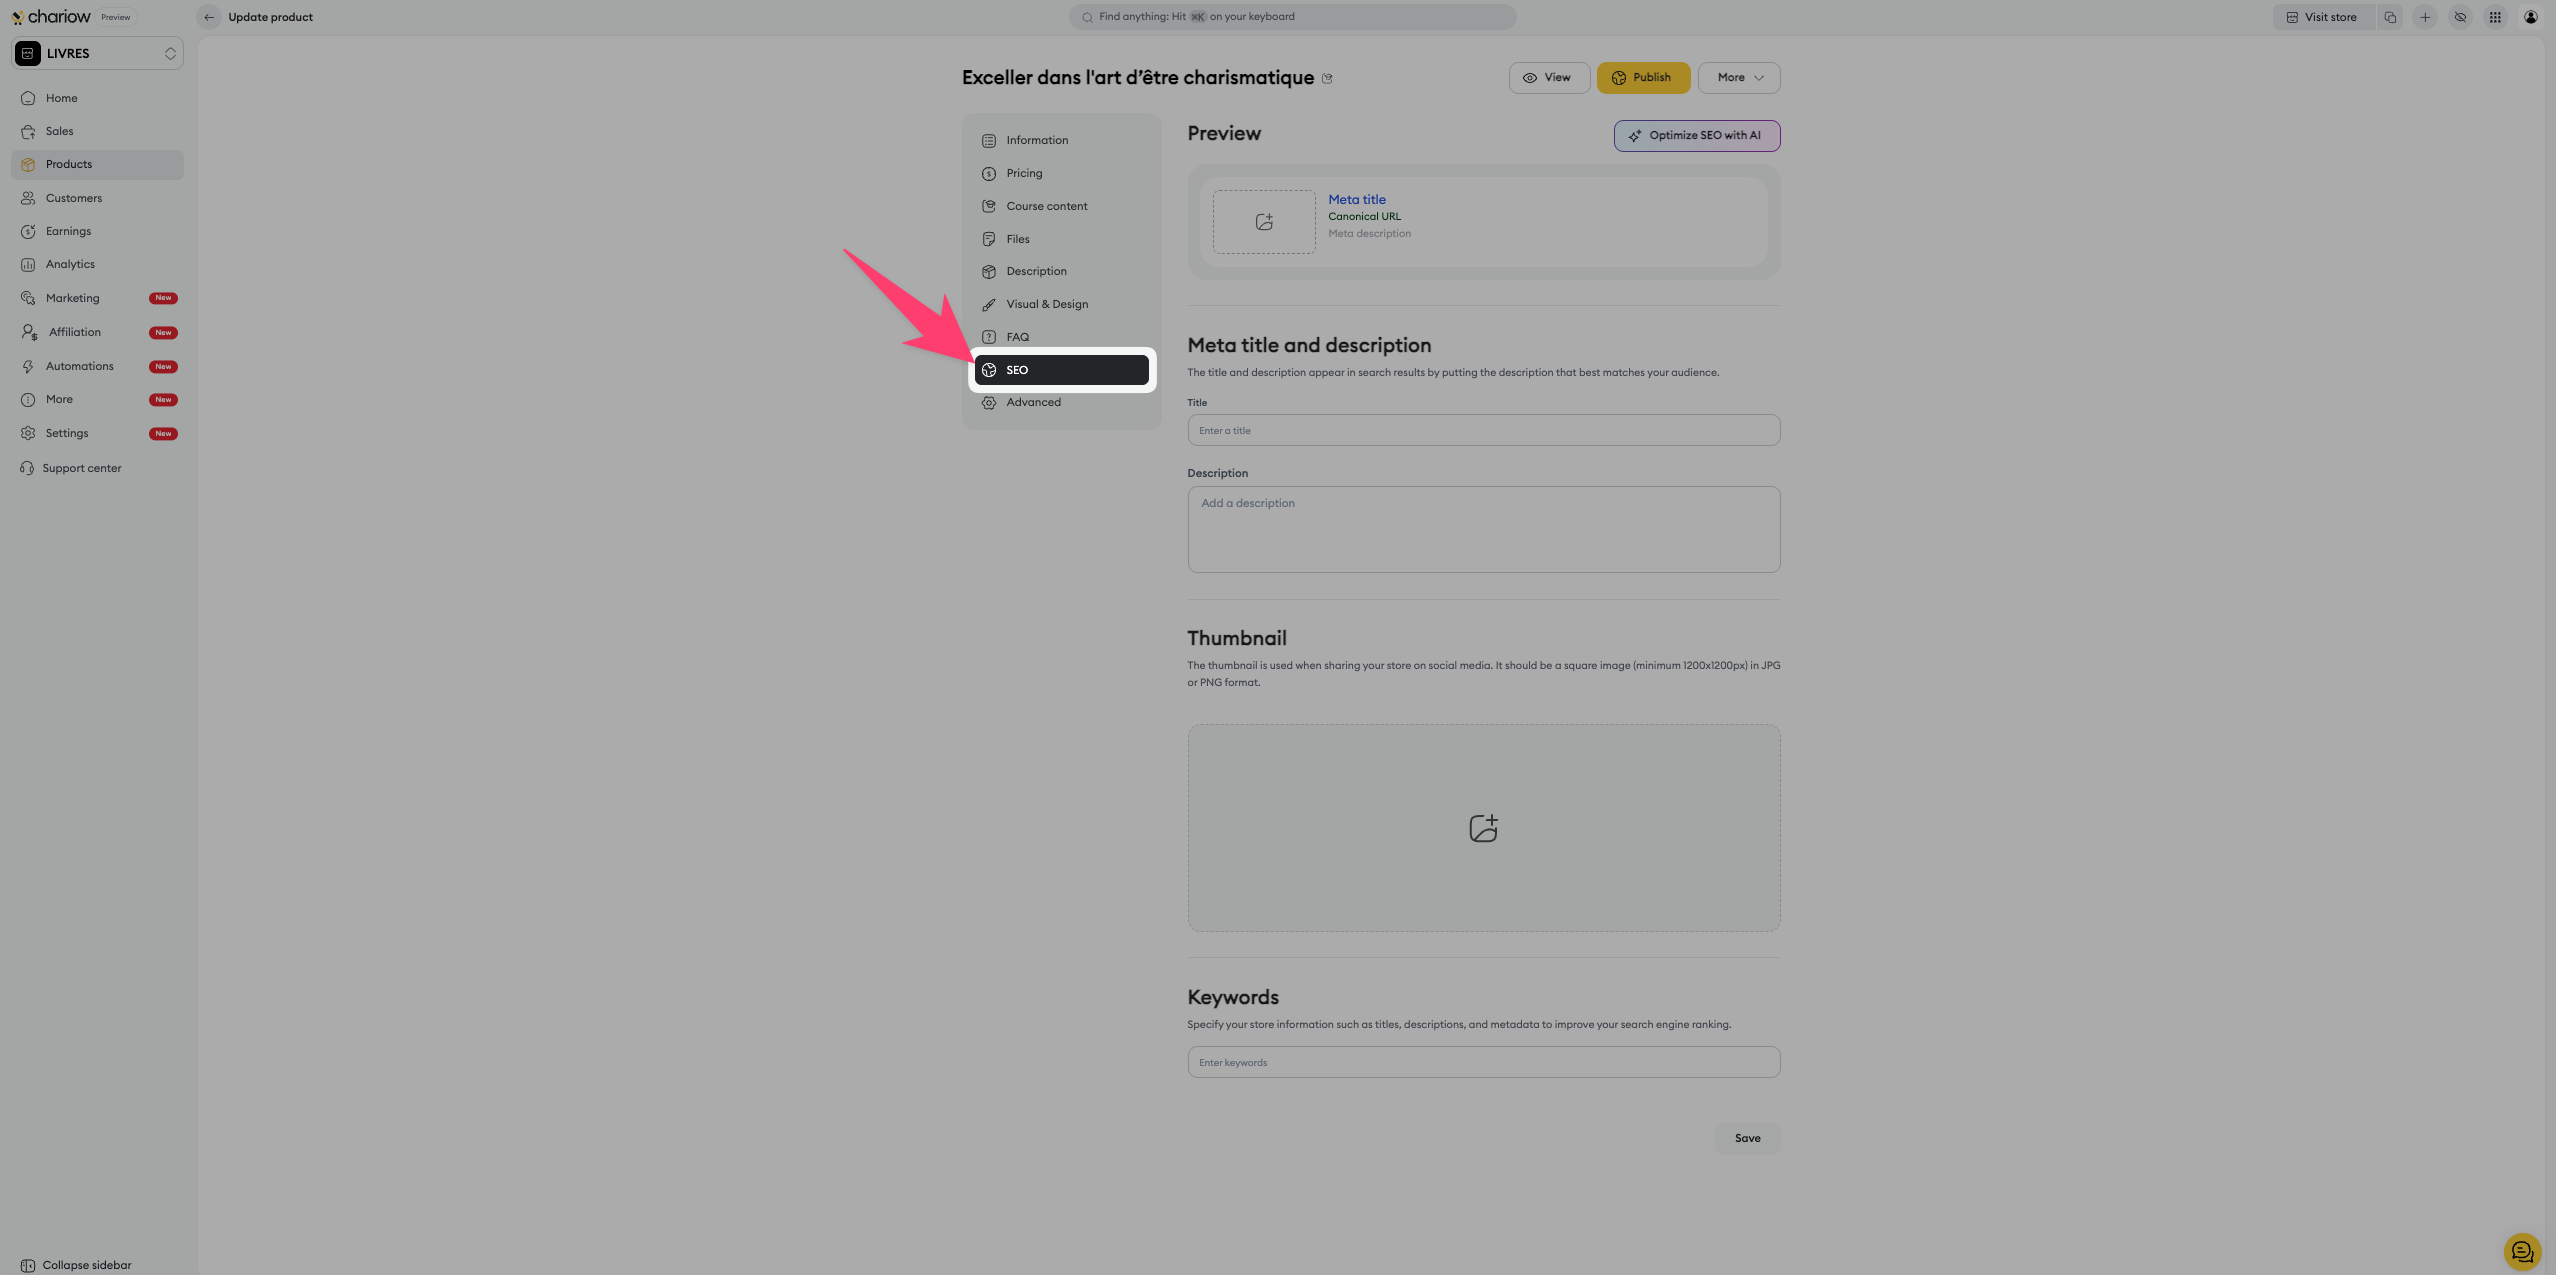
➜ Check out the guide: Optimize your product SEO
Need specific information at checkout (e.g. an ID, a date of birth, a preference)? Add mandatory or optional form fields that the customer will have to fill in before confirming their purchase.

➜ Check out the guide: Use custom fields

Need help? Contact our support via chat or at [email protected]