Zoho Calendar is a professional time management solution. By connecting it to Chariow, you enable two-way synchronization of your events, making sure your booking slots on your store always match your actual schedule.
An active Chariow account.
A Zoho account with the Calendar service enabled.
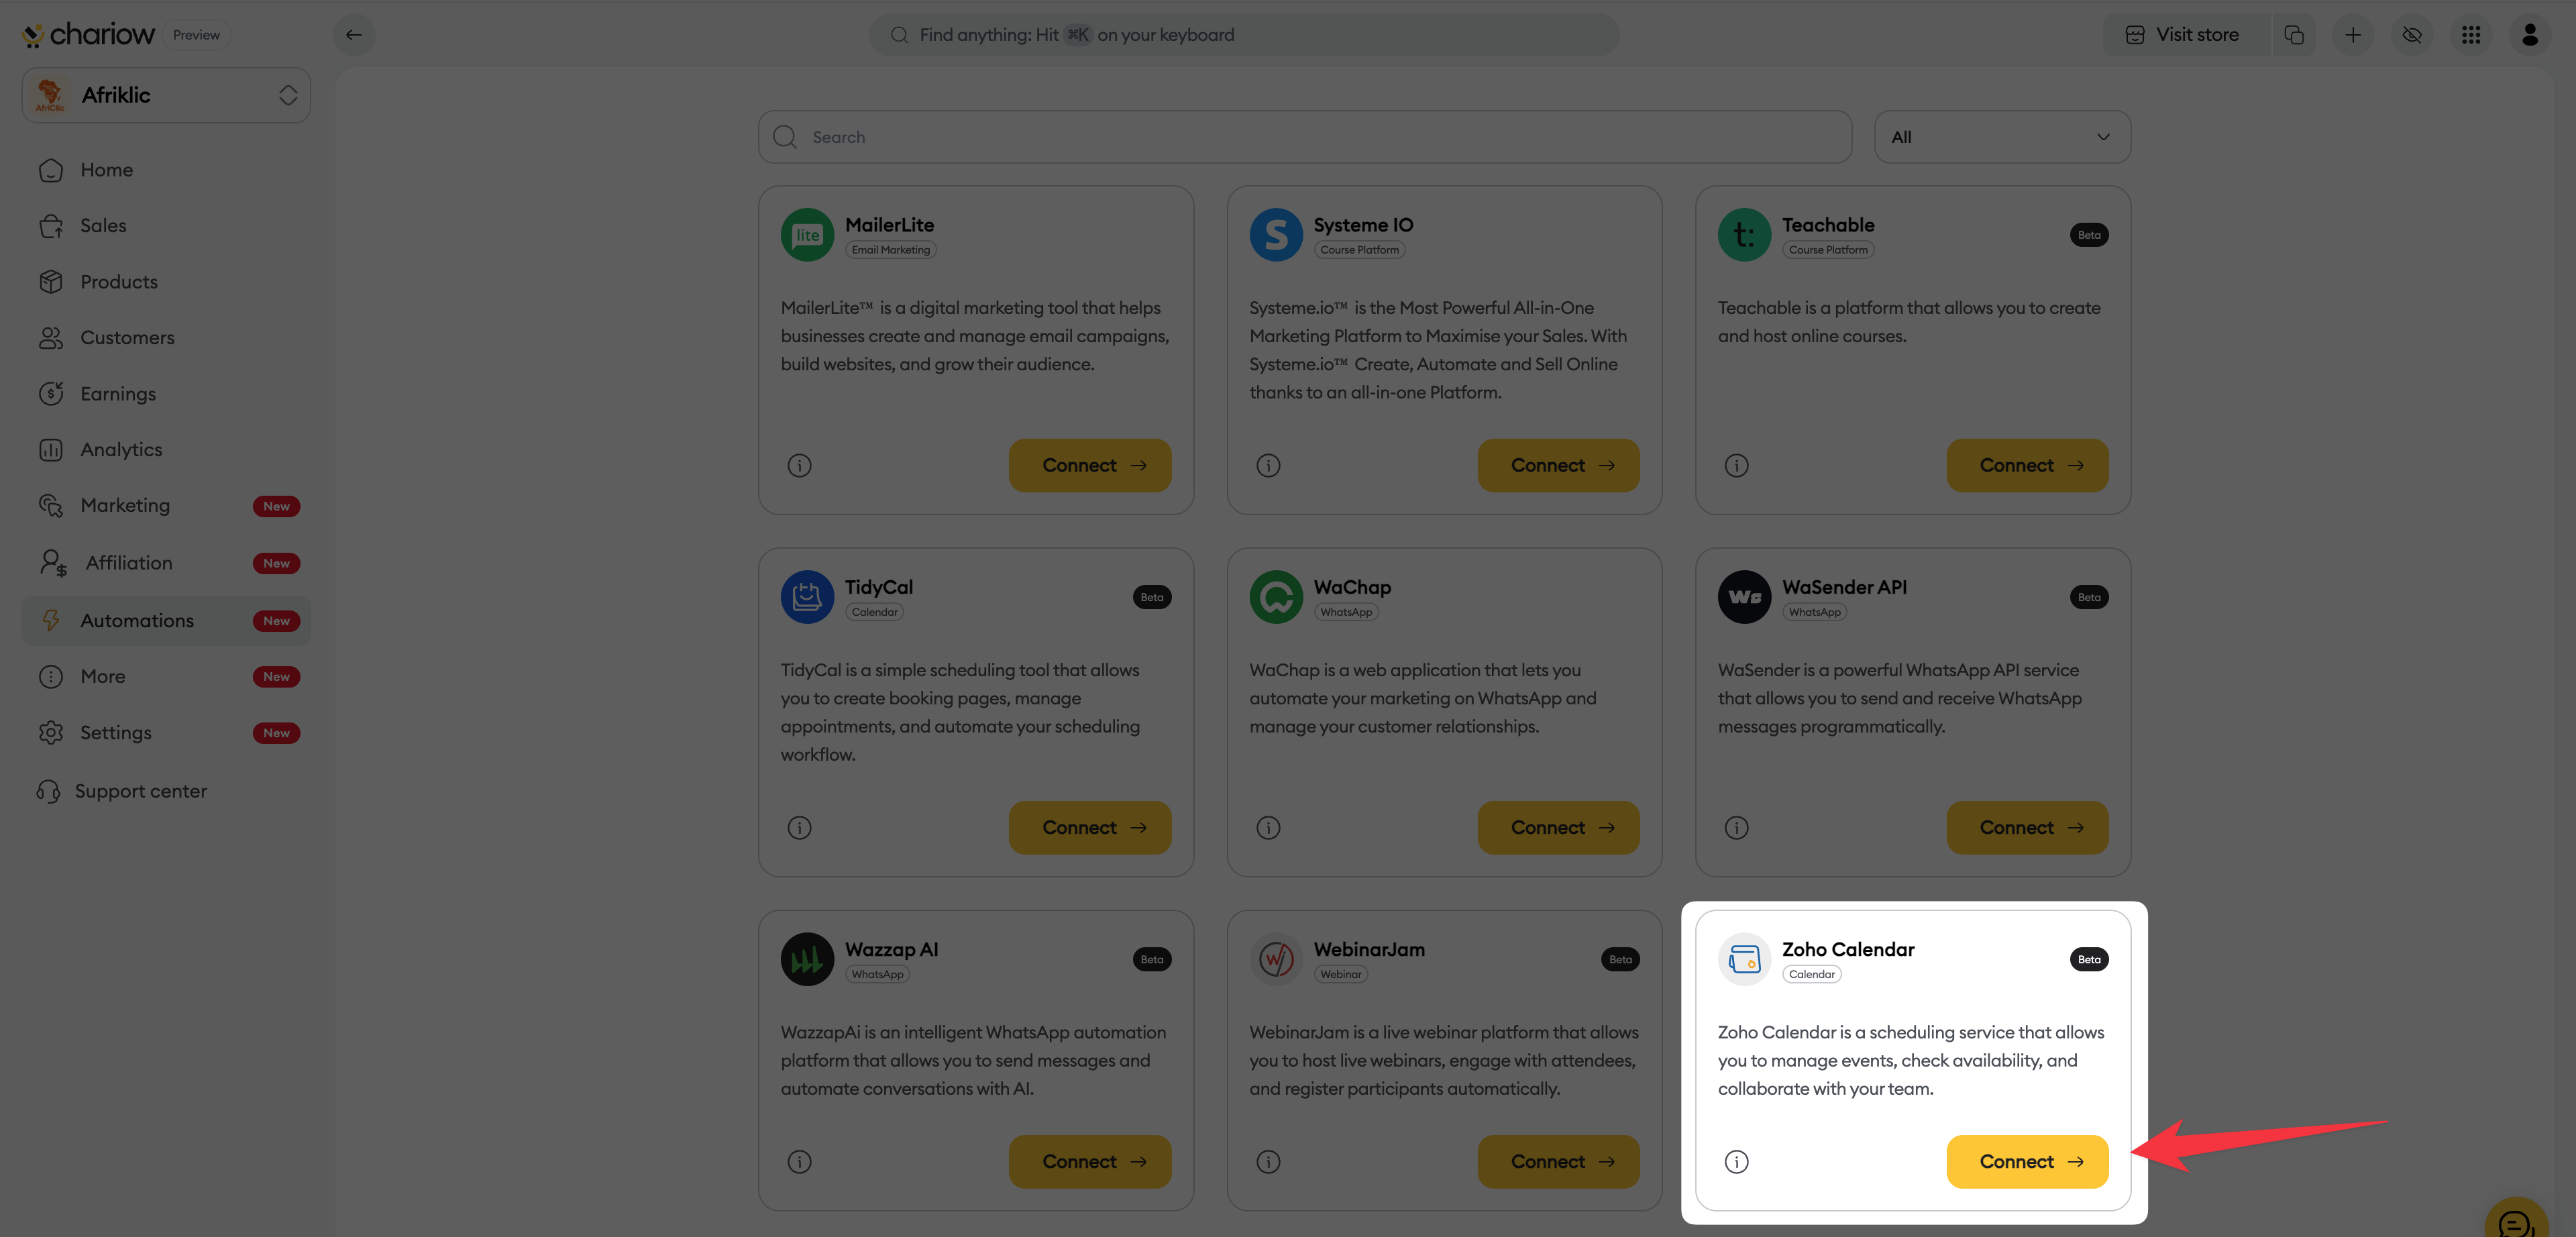
In your Chariow dashboard, click on the "Automatisations" tab in the left sidebar menu. Then click the "Connecter un outil" button at the top of the page.
Look for the "Zoho Calendar" tool in the list of available integrations. Click the "Connecter" button.
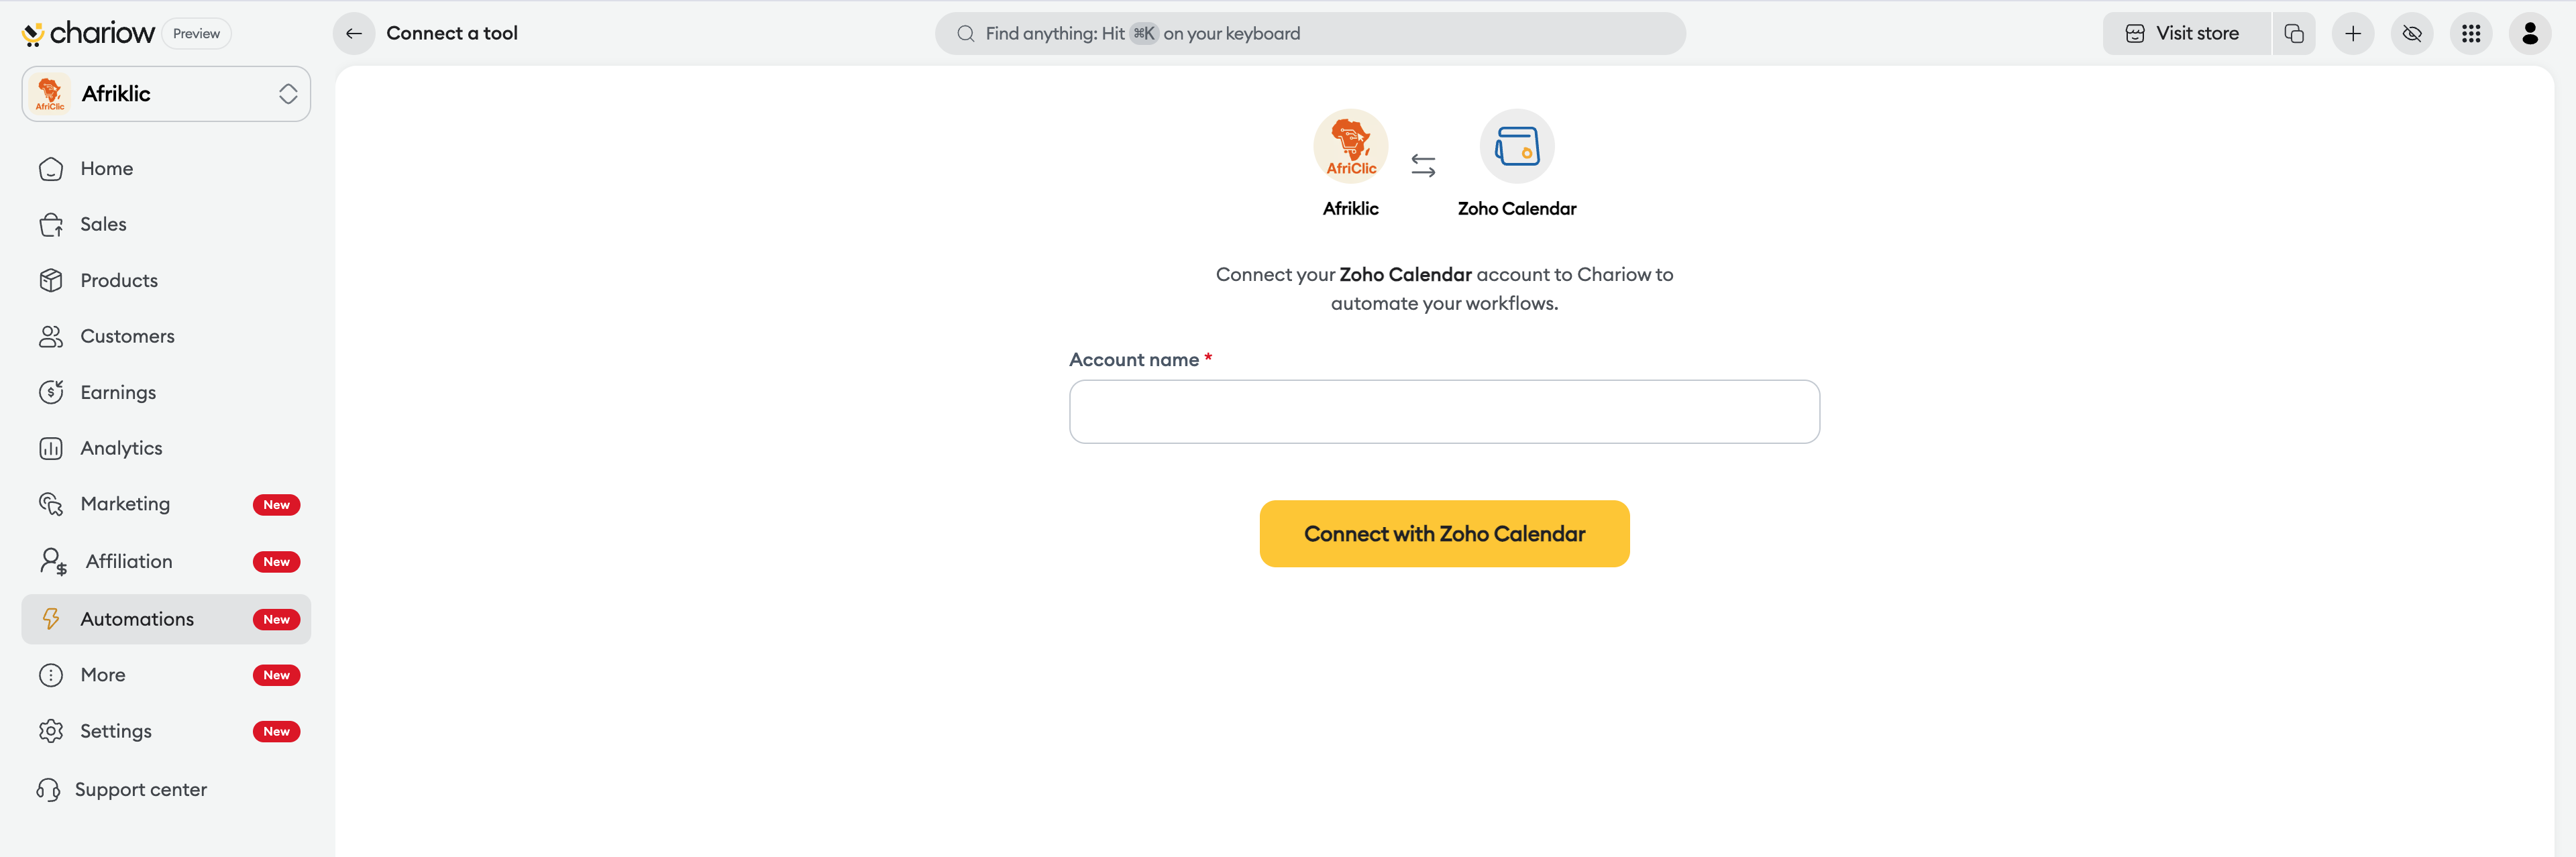
On the integration home page:
Fill in the field "Account name" with a clear name (e.g.: "Zoho Pro Calendar").
Click on the yellow button "Sign in with Zoho Calendar".
A Zoho confirmation page will open to allow Chariow to:
Access calendar and event details.
Add new events.
View your availability information.
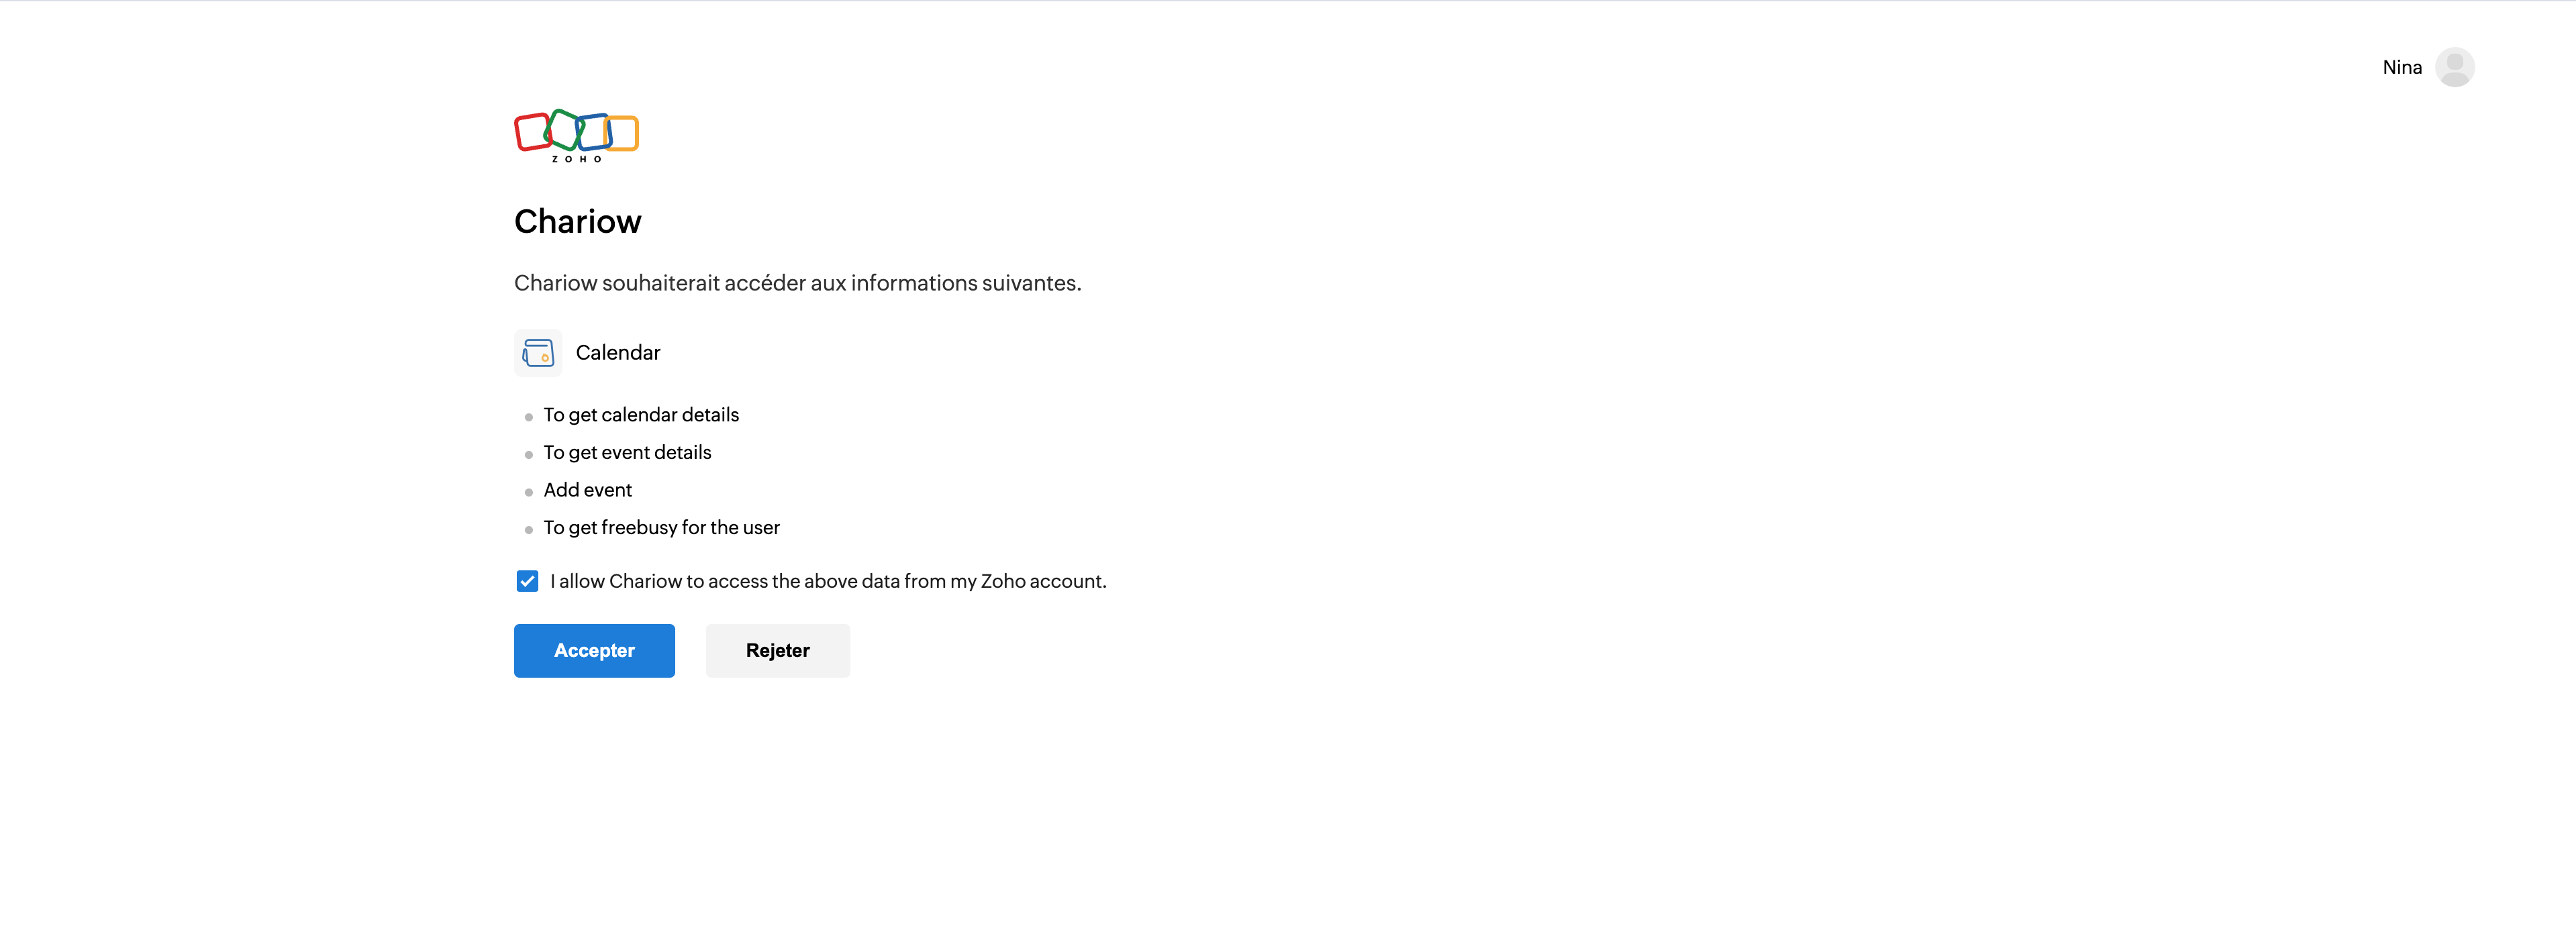
Check the box "I allow Chariow to access the above data from my Zoho account" then click on the blue button "Accept".
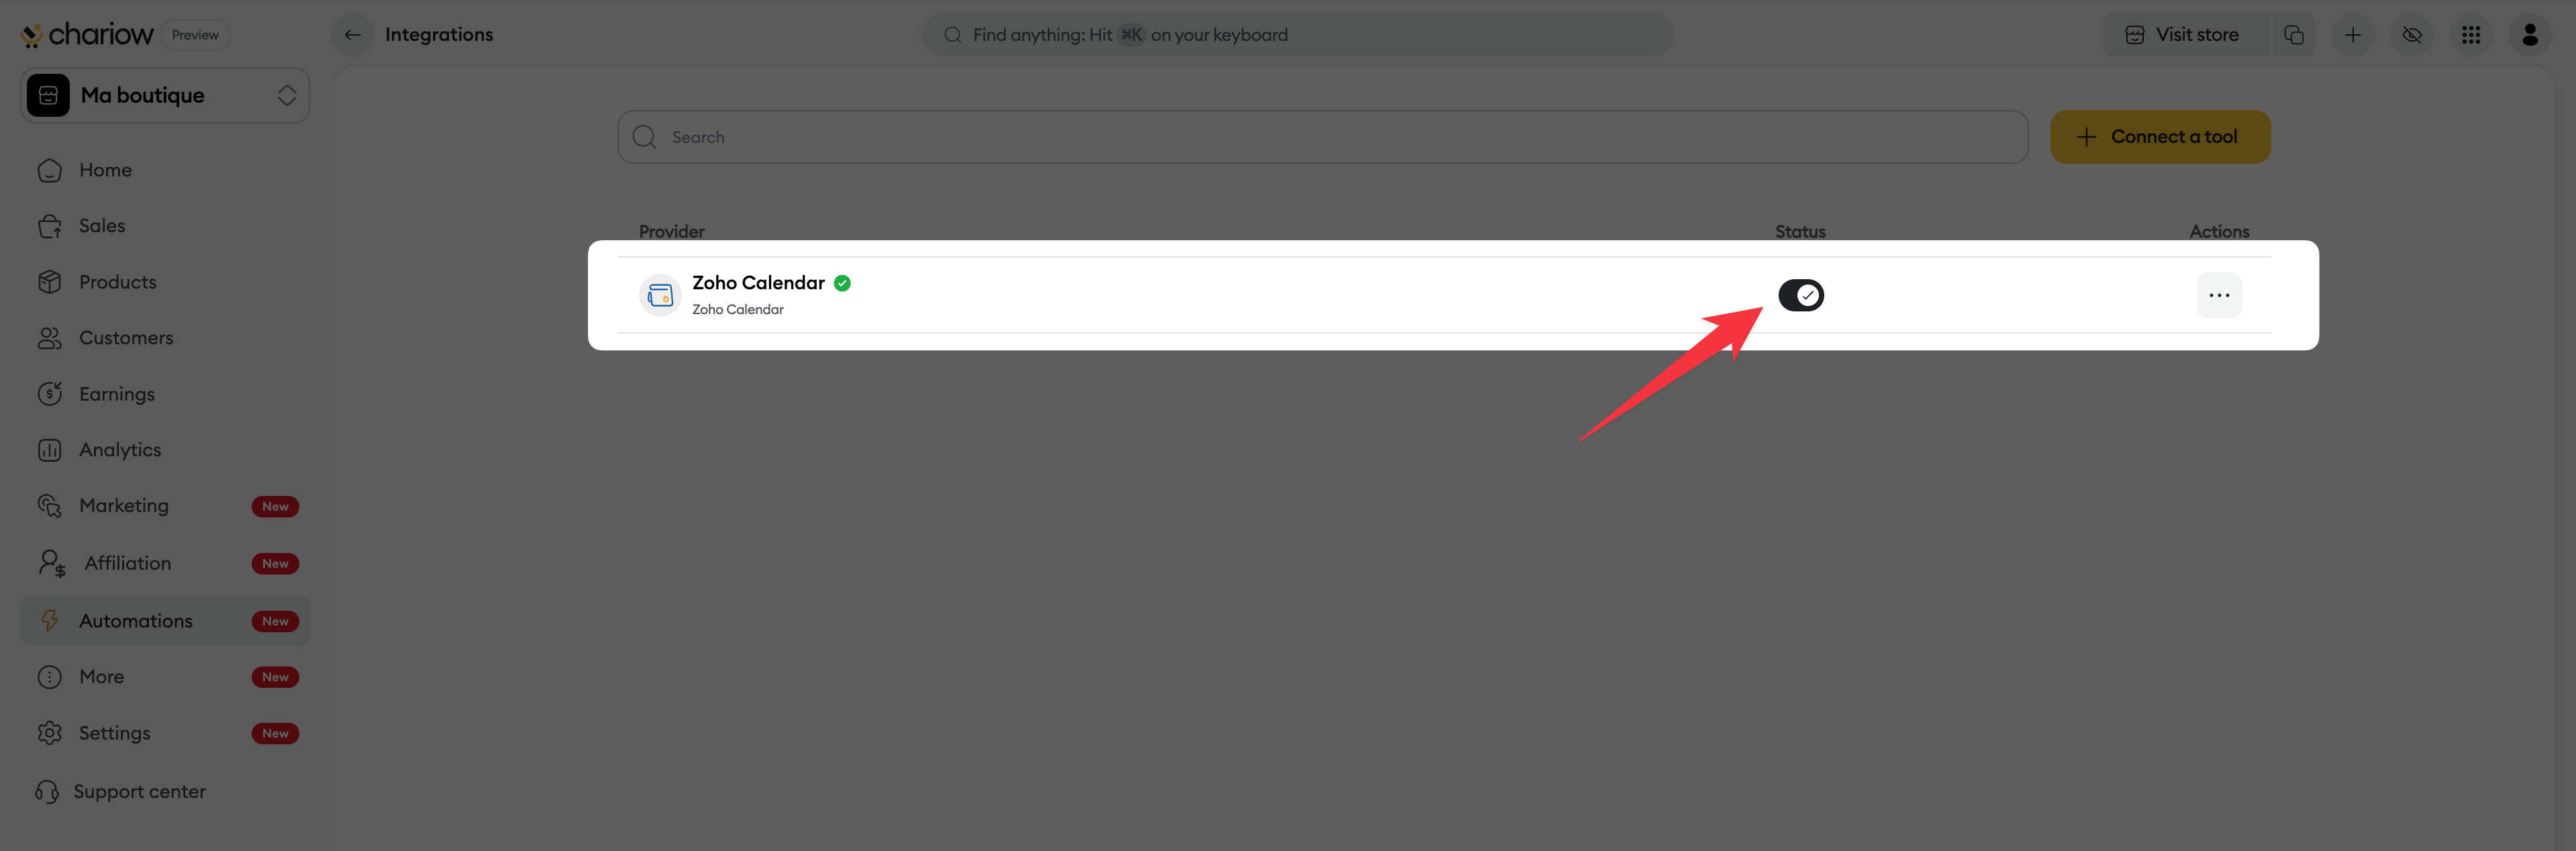
Once the authorization is confirmed, you’ll be redirected to the "Integrations" tab. The "Zoho Calendar" tool should appear in your list with a green check mark and the switch in the "Status" column turned on (switched to the right).
Availability: Make sure your important calendars in Zoho are marked as "Public" or "Shared with the organization" if you’re having issues seeing available time slots.
Status management: You can turn off syncing anytime by sliding the "Status" switch to the left without losing your configuration settings.
Need help? Contact our support via chat or at [email protected].