A Makeup page is a web page entirely dedicated to promoting a product or a specific offer. It's designed to be the landing point for your marketing campaigns (ads, social media, emails) and its main goal is to turn visitors into customers.
These pages are managed from the Makeups section of the Marketing area and can be published or kept as drafts.
To start building your custom sales page, just follow these simple steps:
In the navigation menu on the left of your Chariow dashboard, click Marketing.
In the Marketing area, click on the Makeups card.
On the Makeups page, click the yellow Create a makeup button.
Once you've started the process, you'll land on the templates screen, where you need to choose your starting base:
Blank page: Perfect if you have a very specific design idea in mind and want to build the page element by element with no limits.
Select this option, then fill in the "Makeup Name" (for internal reference), the "Page Title" (visible to clients) and choose the "Main Product" that this page will promote (the product is optional at this stage).
Import a Makeup: Allows you to upload an existing template file to start from a design that's already complete.
Select this option, fill in the "Makeup Name" and upload the template file.
Existing templates: You can pick a pre-designed template by Chariow or one you've saved earlier. This helps speed up page building with a tried-and-tested structure.
Pick a template to load the editor right away.
Select the option you want and fill in the required fields to load the "Makeup" page editor"Makeup".
Once in the editor, the right panel gives you access to customization tools, using drag and drop.
The "Blocks" are the starting point for adding and organizing elements on your page. They let you set the layout for items in a section (Row).
How to:
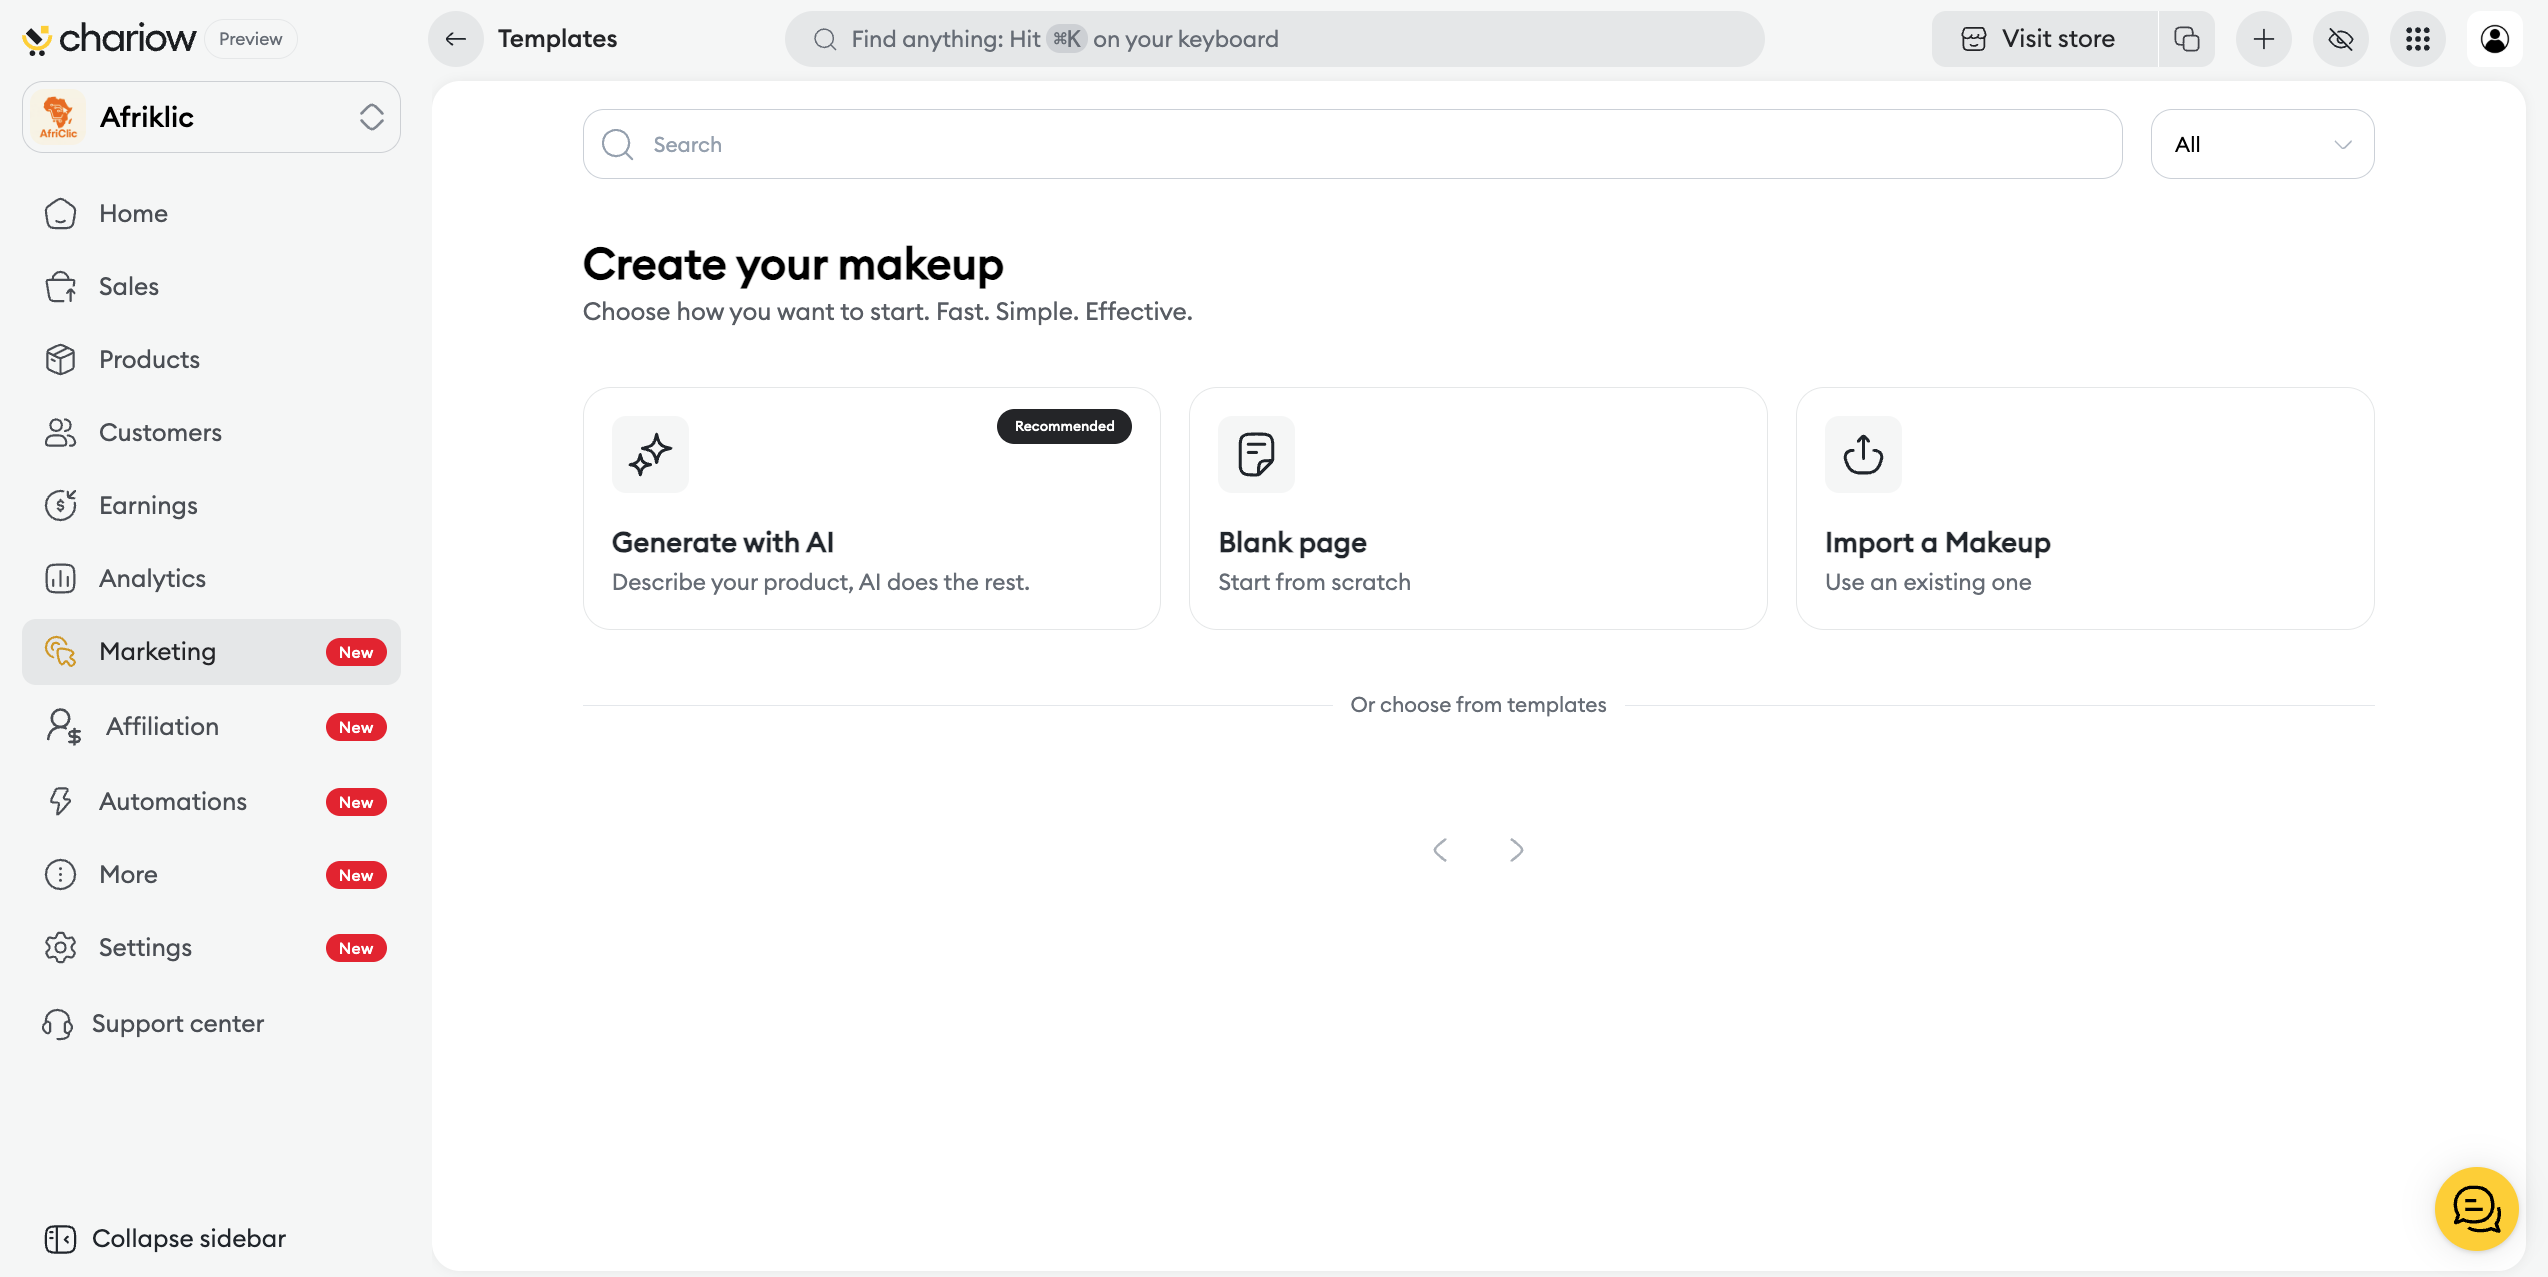
Click on the "Blocks" tab.
Drag the column onto your page's workspace.
This sets up the section structure (e.g.: a single column for full width, two columns to put an image and text side by side).
Once the structure is set, you can add basic elements to it.
Steps:
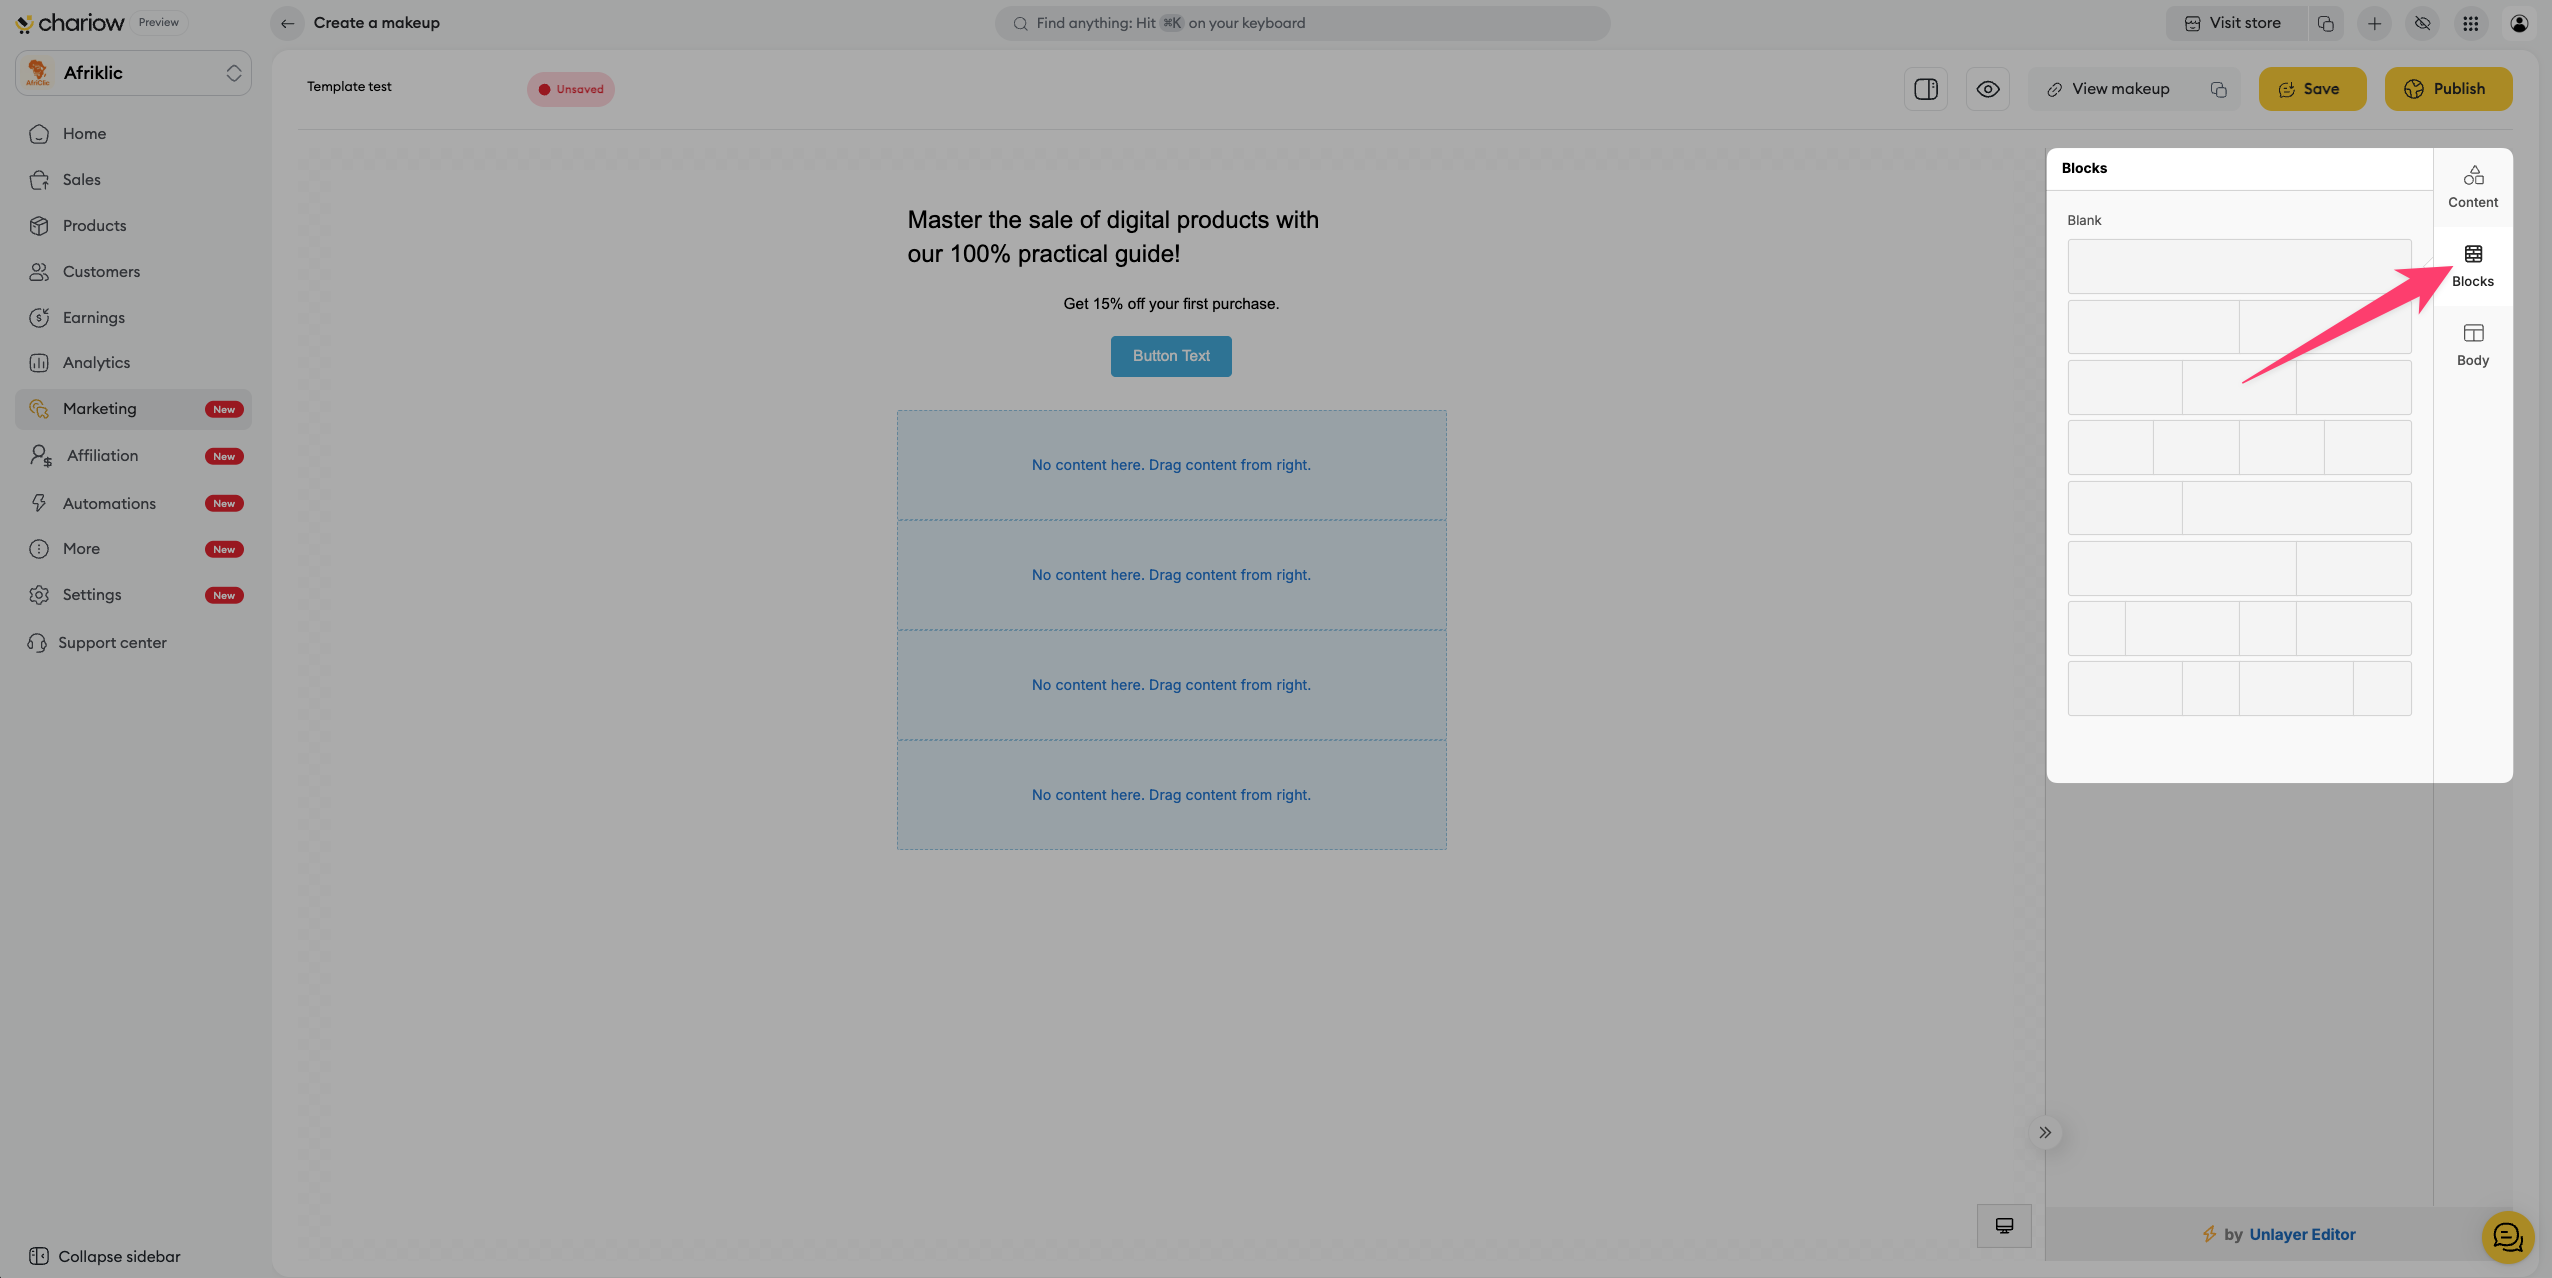
From the "Content” tab, drag items such as "Heading" (Title), "Text" (Text), "Image", "Button" (Button), etc.
Drop these items inside your structured columns.
To edit an existing item (colors, fonts, links …), you need to select it on the page. The right panel updates to show its style options.
Section | Element to Edit | Customization Steps |
Text (Title, Paragraph) | Text and Font | Double-click directly on the text to edit it. Use the toolbar for formatting (bold, italics, color, font…). |
Image | Image Source | Select the "Image" block. In the panel on the right, use the option to upload a new image. You can control the image size, container padding, alignment… |
Button (CTA) | Text and Target | Edit the text directly on the button (e.g., "Buy Now"). Go to the "URL" section and set the URL (the Link) the button should take the user to. You can also customize the button color and style. |
Global Style | Page Background and Base Fonts | Use the "Body" tab to set the “Background Color” for the whole page and the default font. |

Once your content and design are perfectly set, the next step is to configure the settings of your "Makeup" (SEO, target product, internal name).
Save: Click on "Save" at the top right to save your work.
Settings: Steps to Configure the Settings of your "Makeup" page are detailed in the article: Link to the settings article.
Need help? Contact our support via chat or at [email protected].