Once you've created a pulse, it's important to be able to manage it and make sure it's working fine. The Pulses area on your dashboard lets you see, enable, disable, and delete your automations super easily.
From the Pulses page, you get an overview of all your automations.
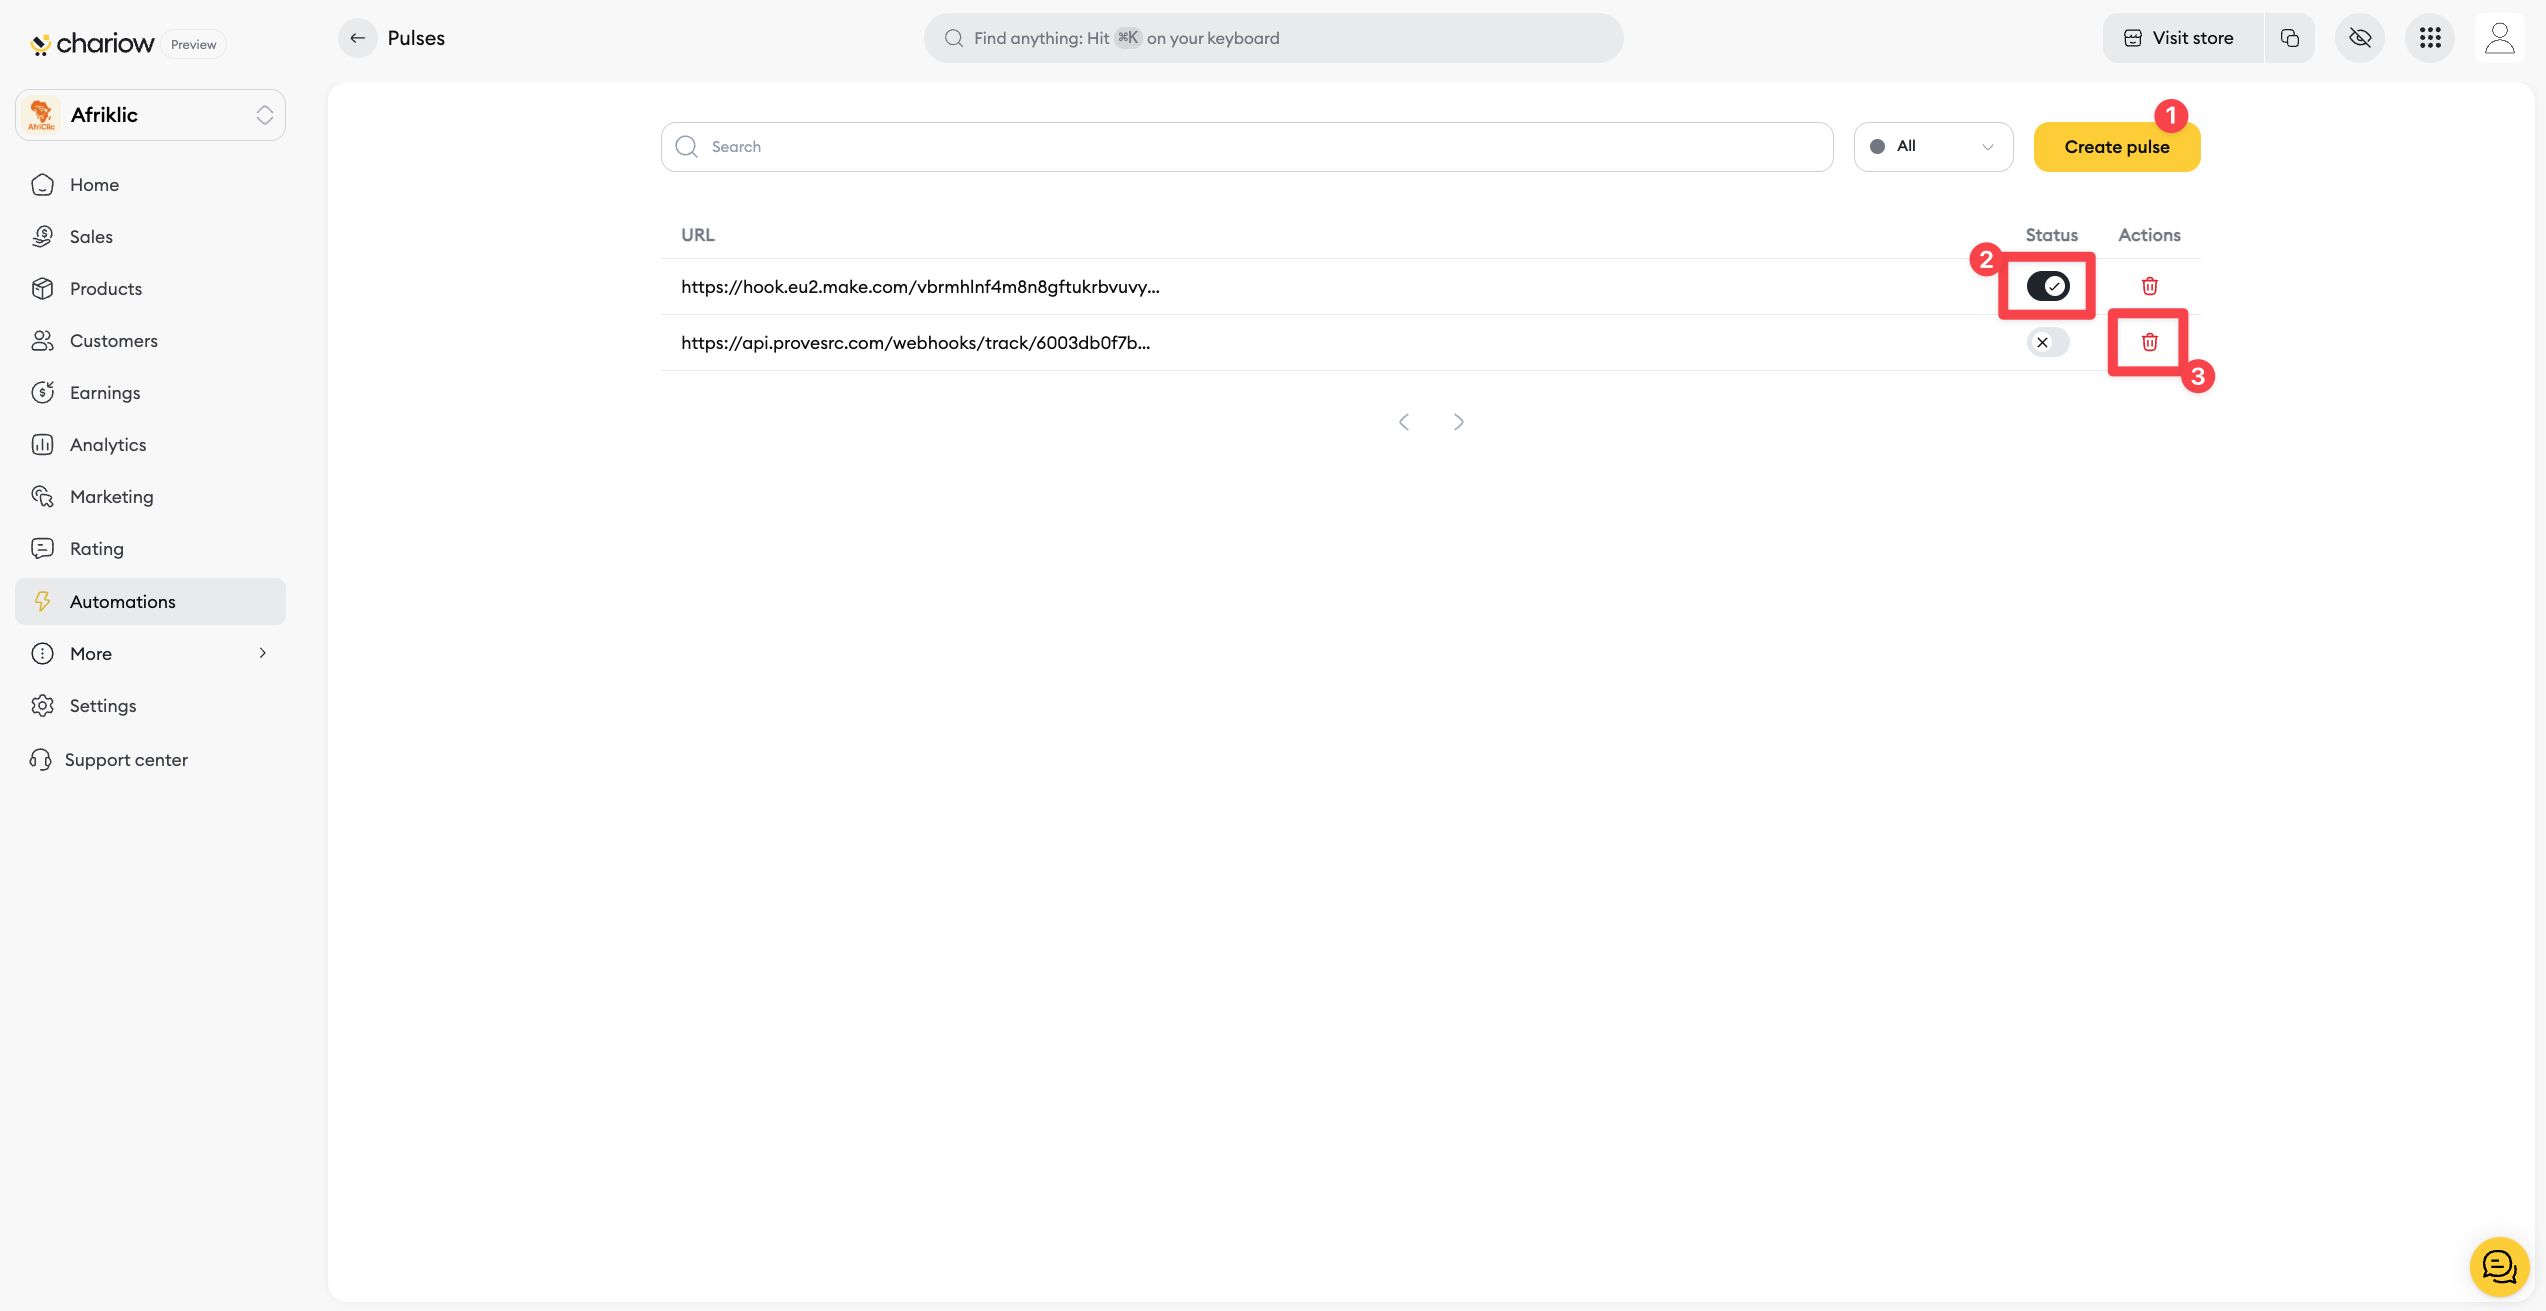
Create a new pulse (1): The Create Pulse button in the top right lets you start a new automation.
Enable or disable (2): You can enable or disable a pulse anytime just by using the switch in the Status column (2). An active pulse is orange, an inactive one is grey.
Delete a pulse (3): If you don't need a pulse anymore, you can delete it by clicking the trash icon (3) in the Actions column.
By clicking on a pulse in the list, a detailed view appears on the right of the screen. You'll find all the info you've set up there: the URL, the event that triggers it, and the related product.
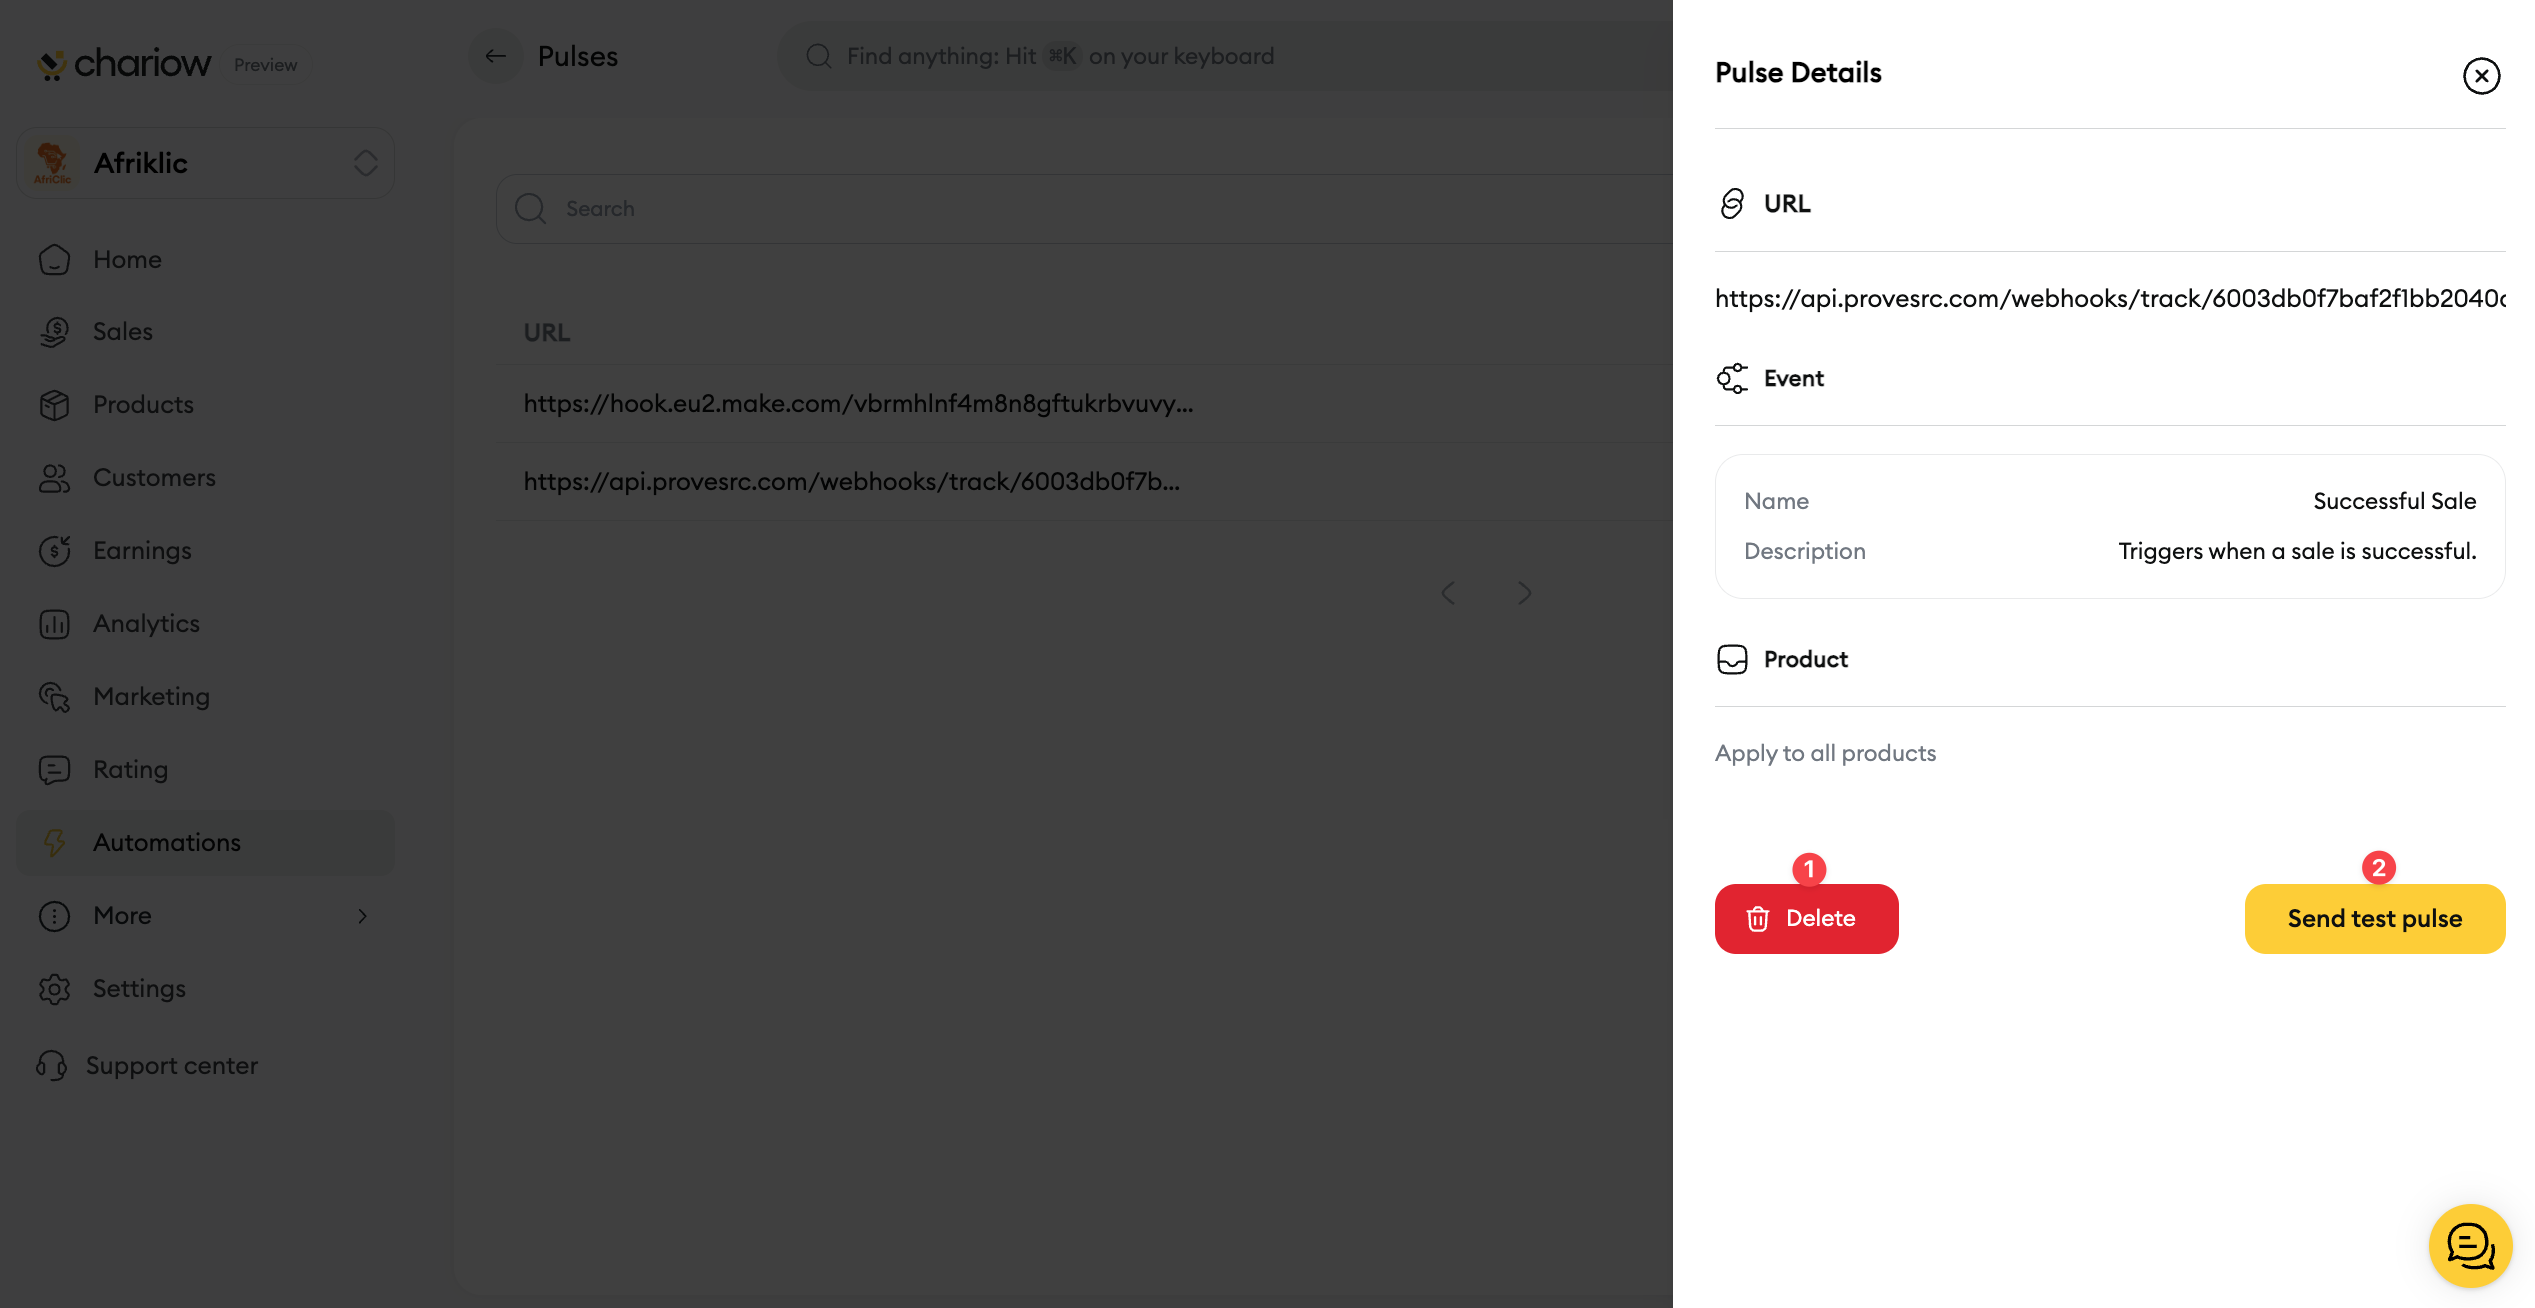
You can also do the following actions:
Send a test pulse (2): To make sure your pulse is sending the right data to the external app (like Zapier or Make), use the Send a test pulse (2) feature. It sends test data to your webhook URL, so you can check the connection and make sure it's set up right on your end.
Delete from details (1): You can also delete the pulse from this view by clicking the Delete (1) button in the bottom left.
Need help? Reach out to our support via chat or at [email protected]