MailerLite is an email marketing platform known for how easy it is to use, its intuitive interface, and powerful newsletter creation tools. It’s perfect for creators who want to grow their audience without any tech hassle.
By connecting MailerLite to your Chariow shop, you can sync your customer data, automate your newsletter sending, and create targeted campaigns based on your customers' activity on Chariow.
Contact sync: Automatically add Chariow customers and newsletter signups to your MailerLite contact lists.
Easy to use: Enjoy MailerLite’s drag-and-drop editor to create professional email campaigns effortlessly.
Targeted automation: Trigger the sending of newsletters, welcome sequences, or post-purchase messages based on specific events in your Chariow shop.
Audience management: Easily manage your audience segments and keep track of how your mailing lists are growing.
Performance analytics: Track how your emails are doing (open rates, clicks, conversions) to fine-tune your strategy.
To connect MailerLite to your Chariow store, you’ll need your MailerLite API key.
Log in to your MailerLite account.
Go to developer settings:
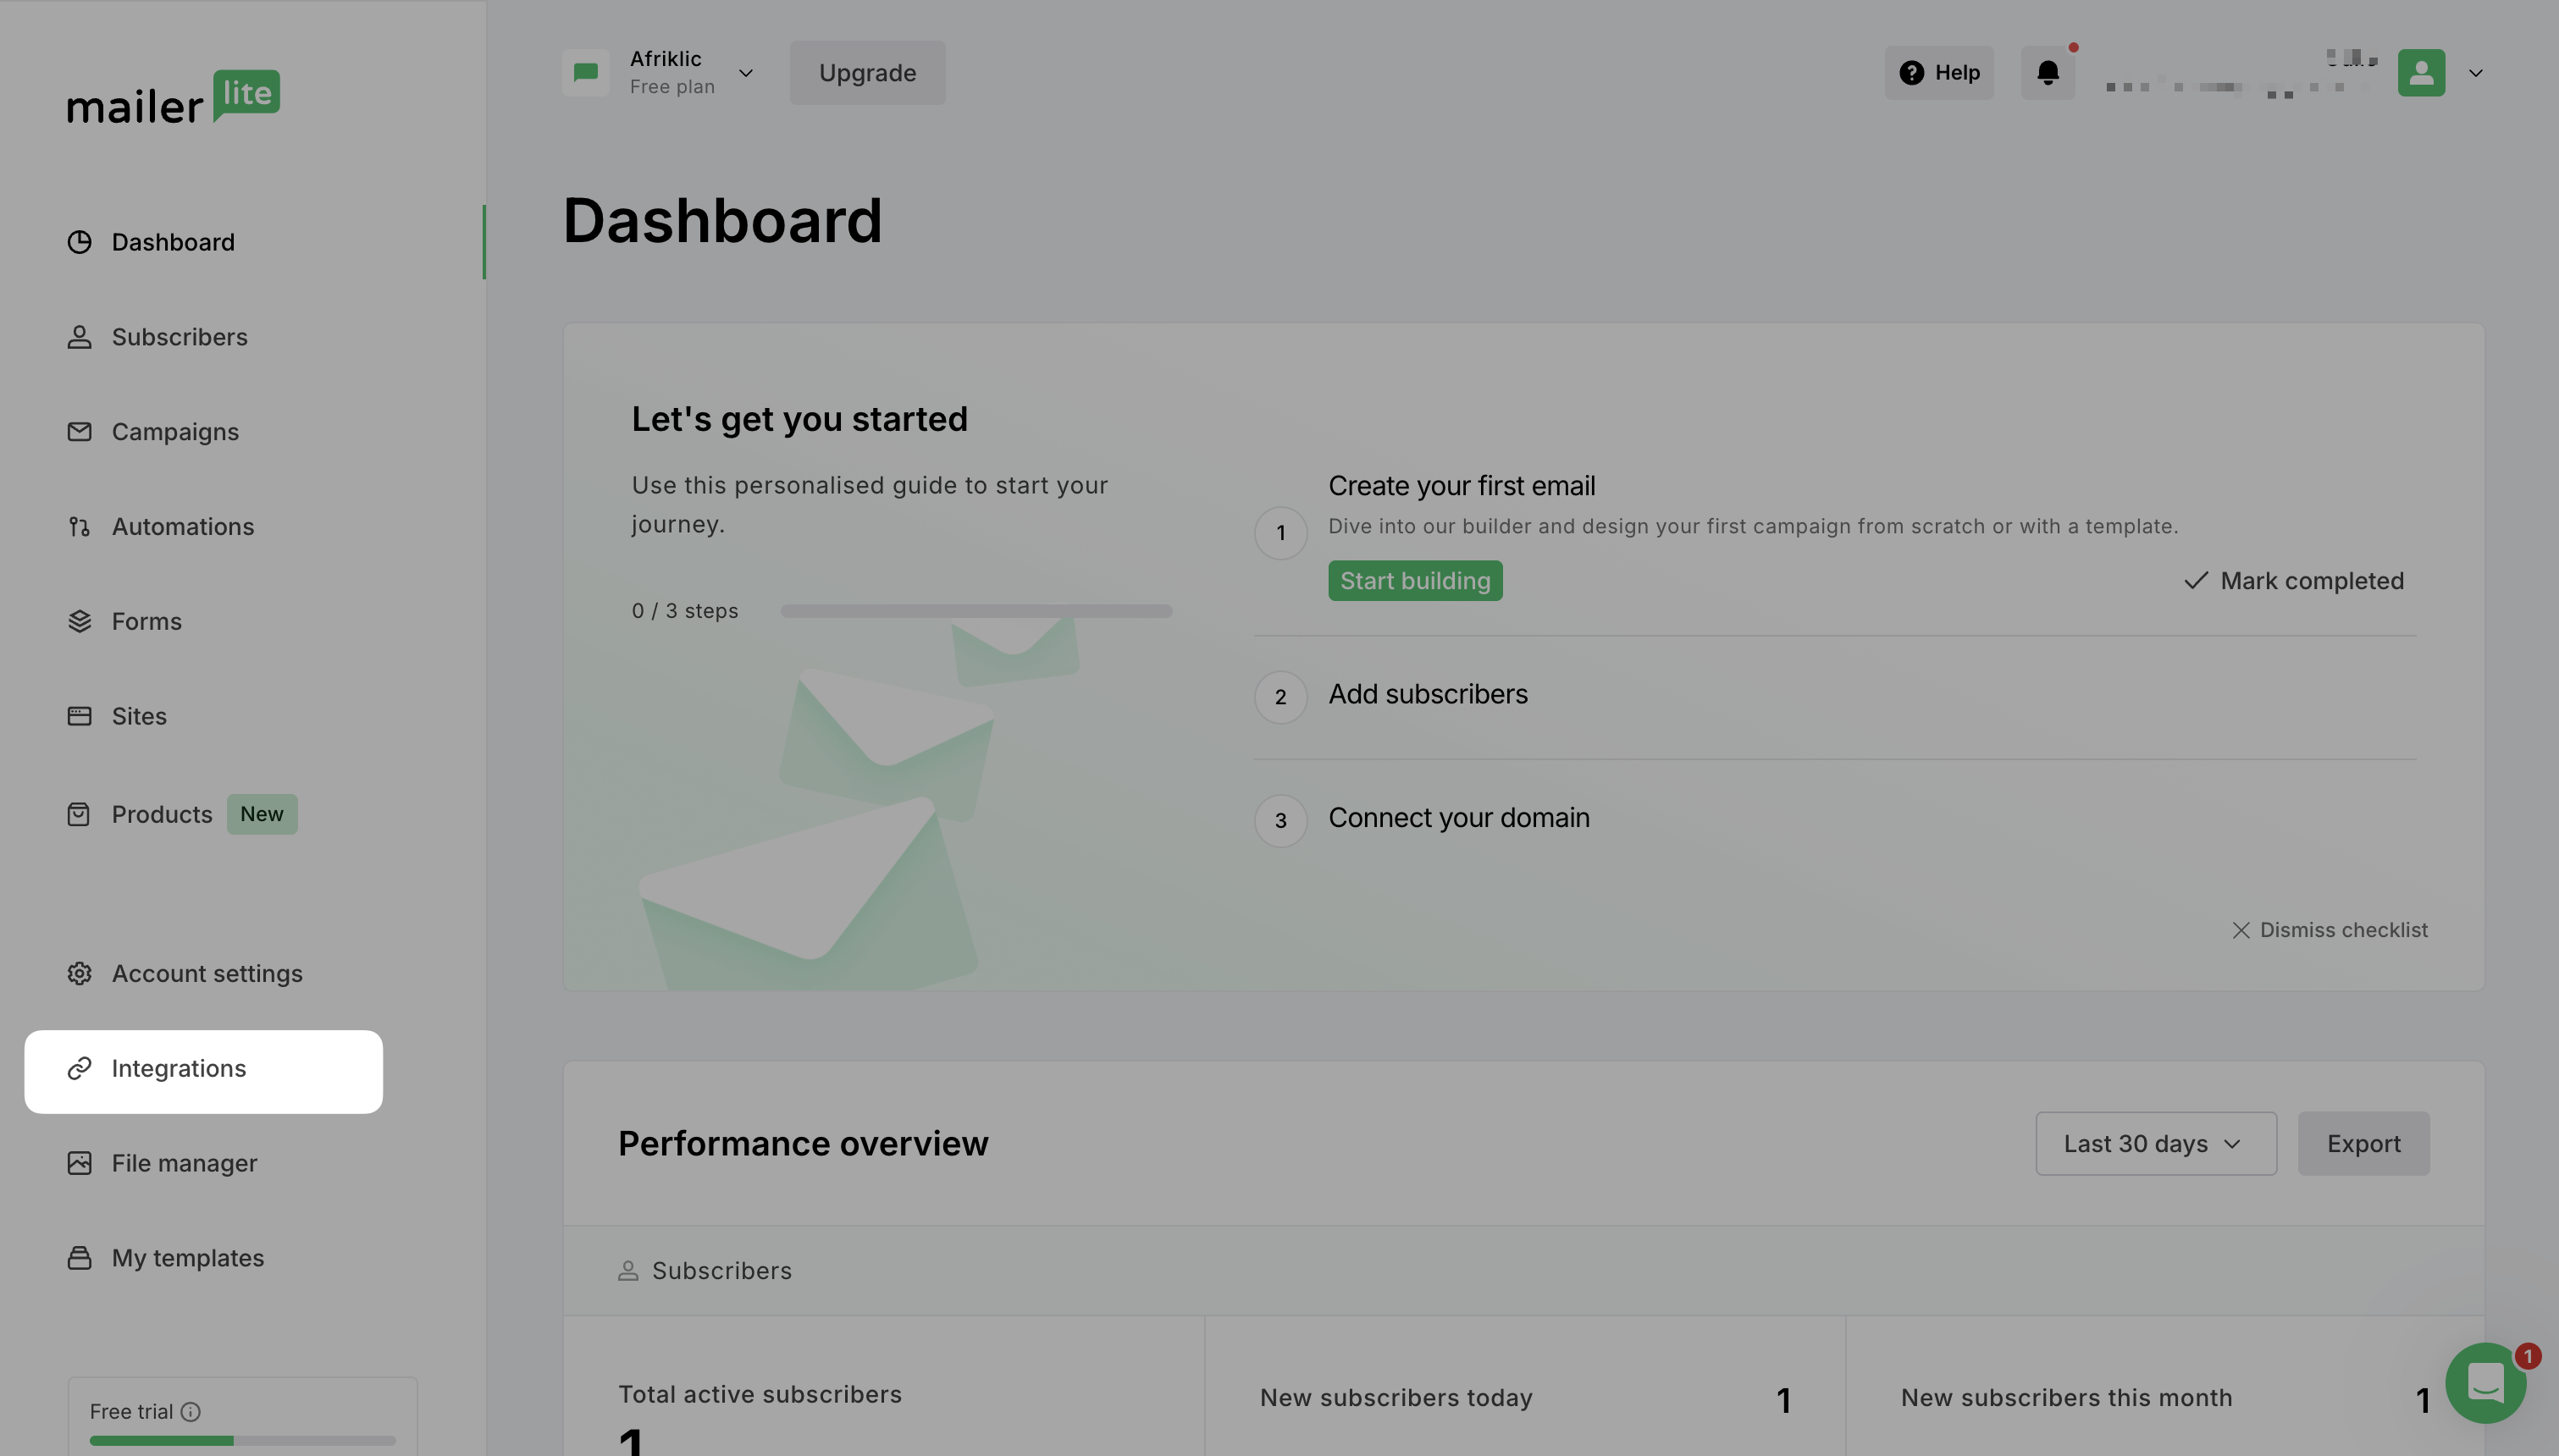
In the MailerLite dashboard, find and click on the "Integrations" section.
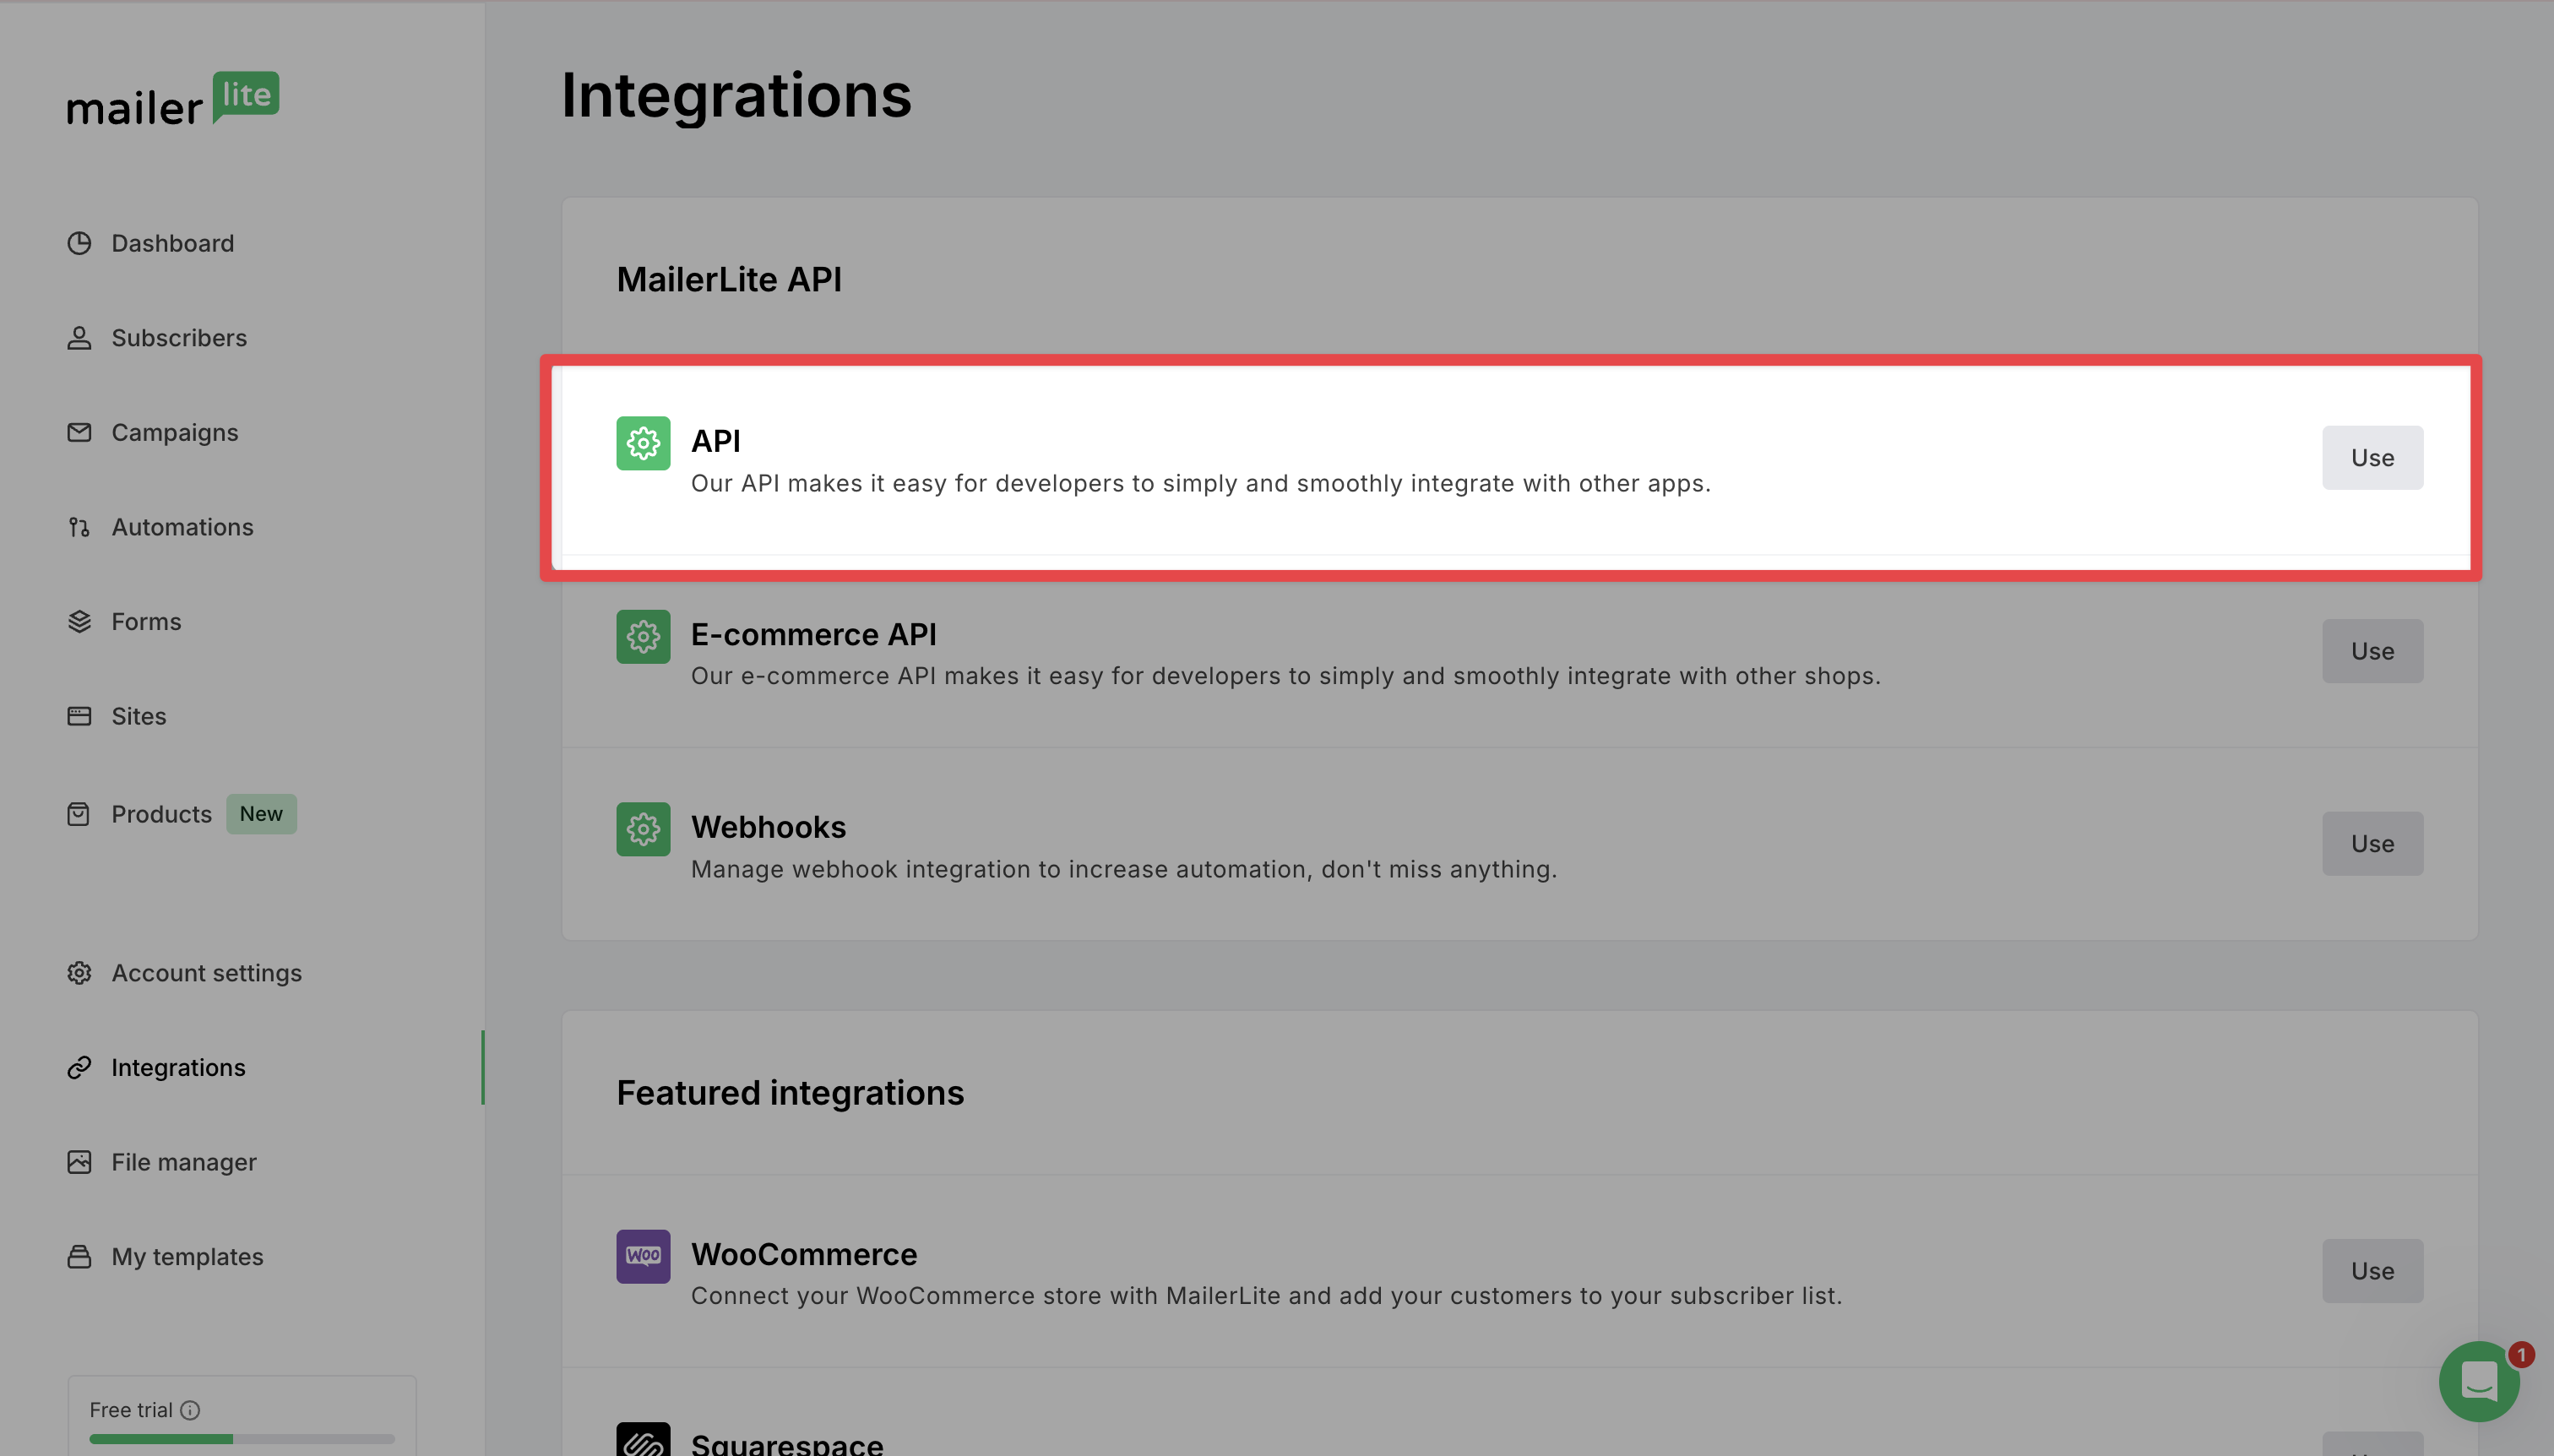
Then, click the “Use” button in the "API" section.
Generate or find your API key:
If a key doesn’t exist, click the button to generate one.
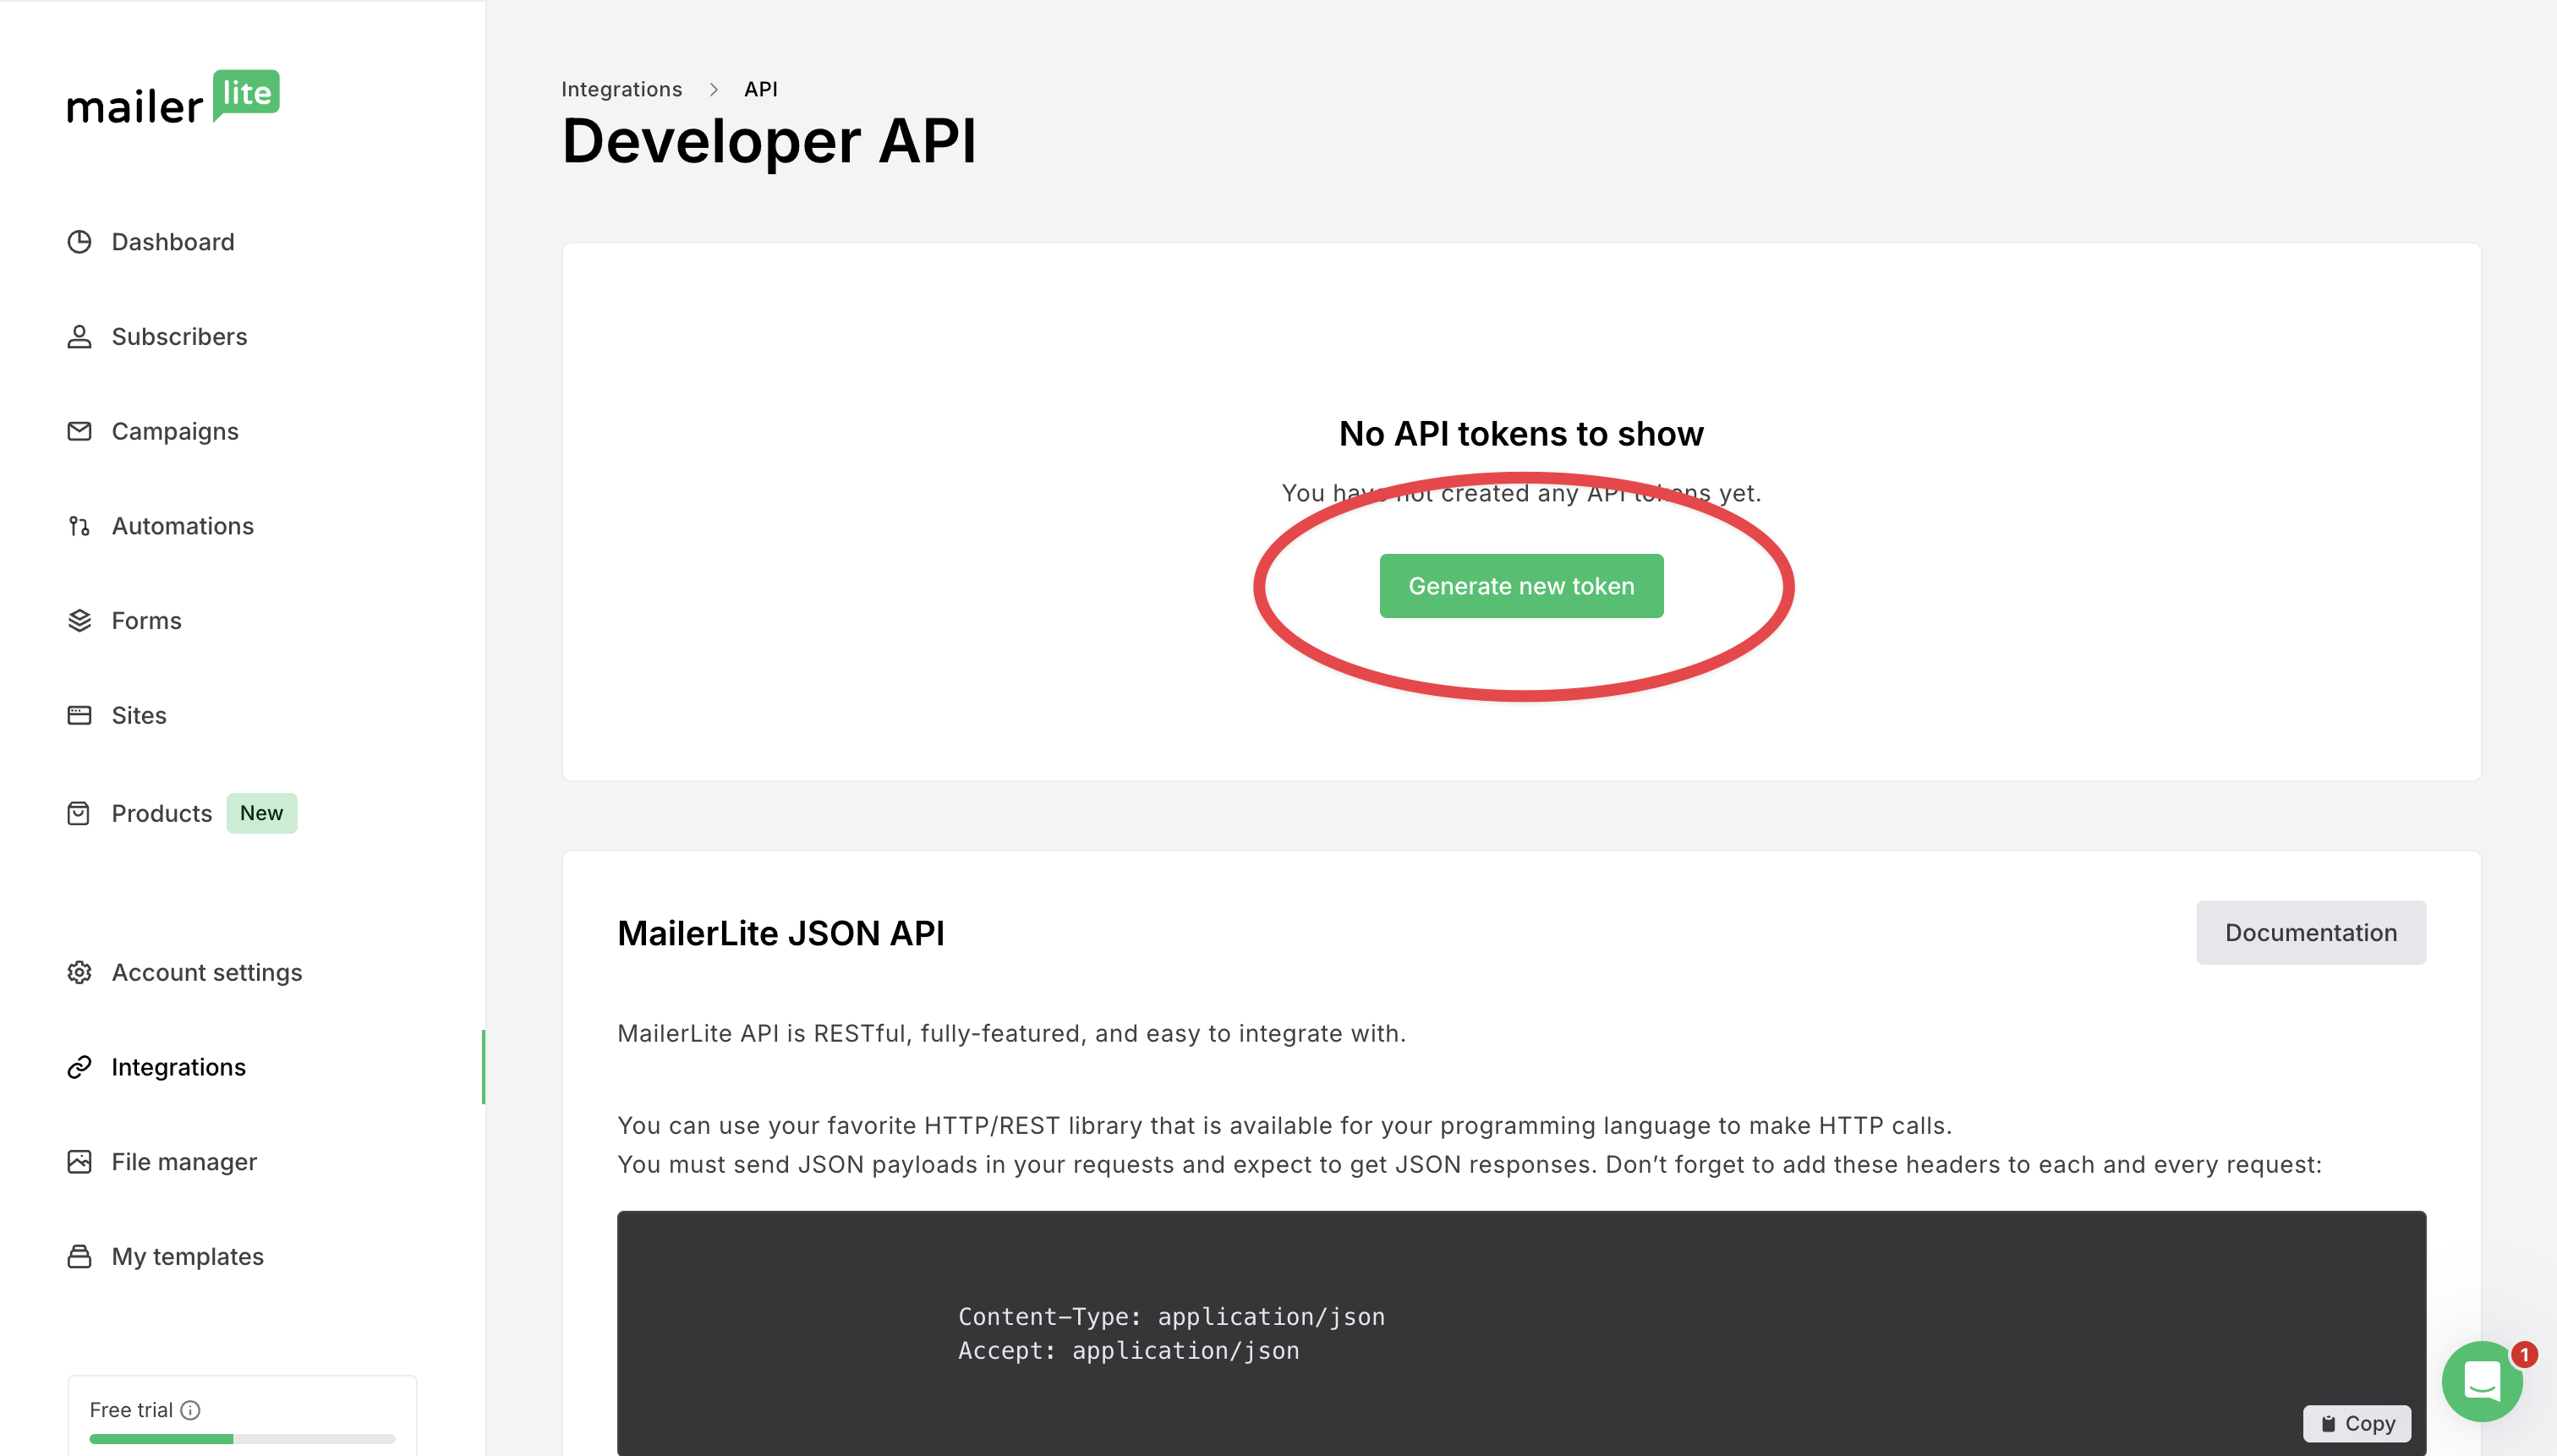
Copy the generated API key.
Important: Your API key is sensitive. Keep it safe, you’ll need it for the next step.

Now that you have your MailerLite API key, let’s connect MailerLite to Chariow.
On your Chariow dashboard, go to the Automations section.
Click on "Integrations."
Find "MailerLite" in the list of available tools (scroll if needed) and click on the yellow "Connect" button.

A login page will open, asking you to fill in the following information:
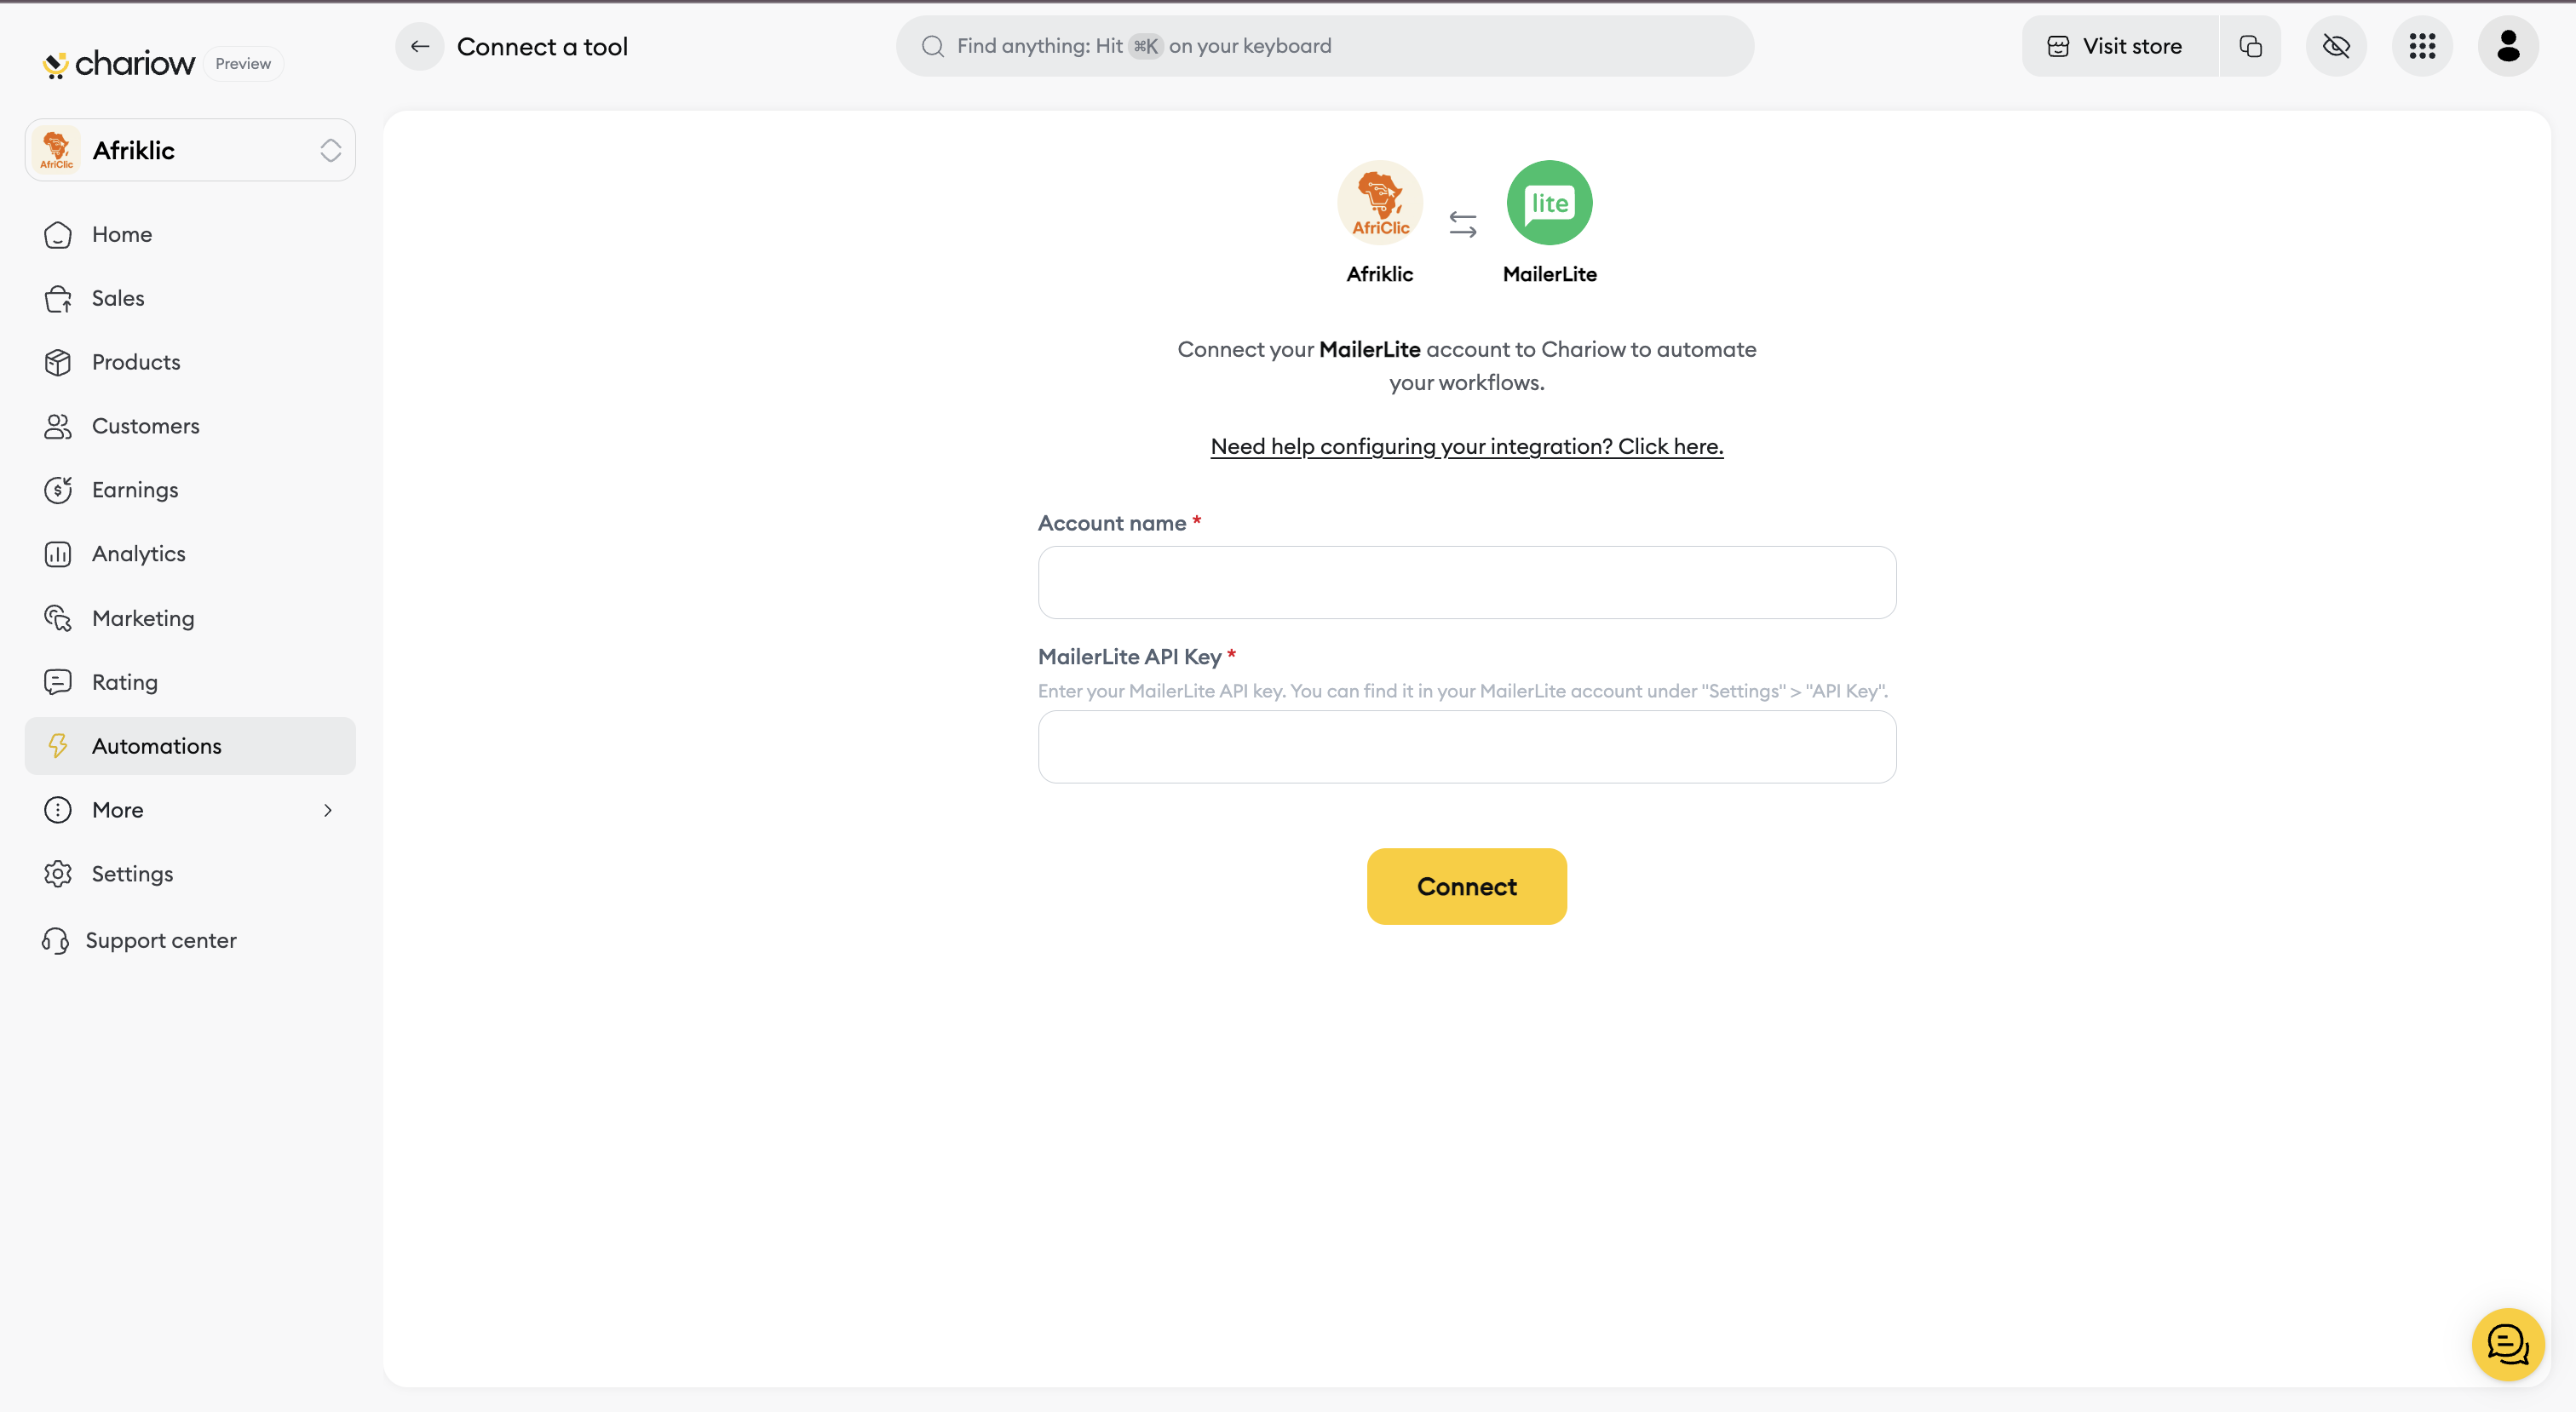
Account name *: Give a name to identify this integration in Chariow (for example, "MailerLite - Newsletters", "MailerLite - Clients").
MailerLite API Key *: Paste your MailerLite API key (got in Step 1) in this field.
Finish the integration by clicking the yellow "Connect" button.
Once the operation is successful, a confirmation message will appear letting you know that MailerLite is now connected. You can then use it in your automations (Workflows and Tasks).
Check out the video tutorial below for a hands-on guide:
Need help? Contact our support via chat or at [email protected]